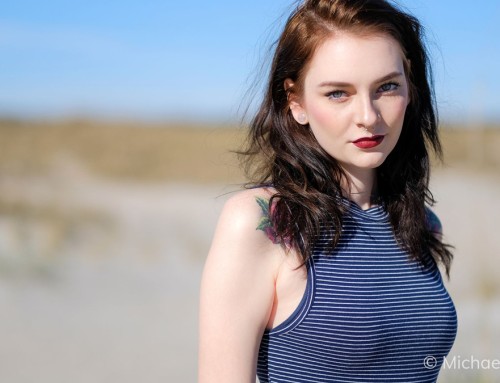
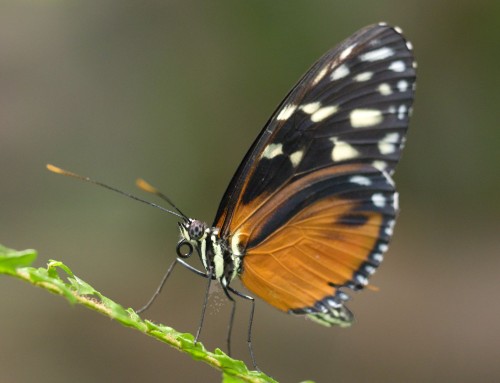
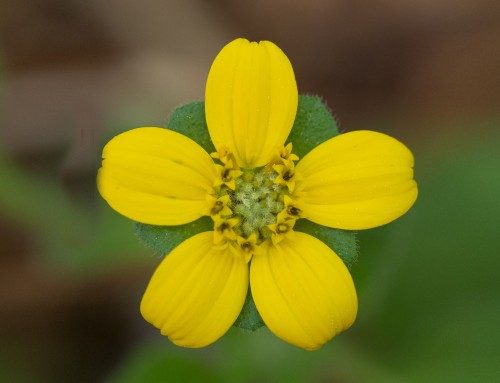
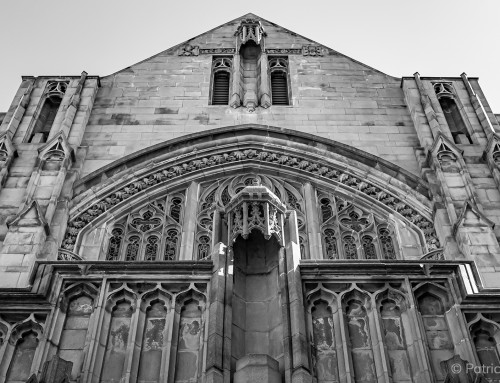
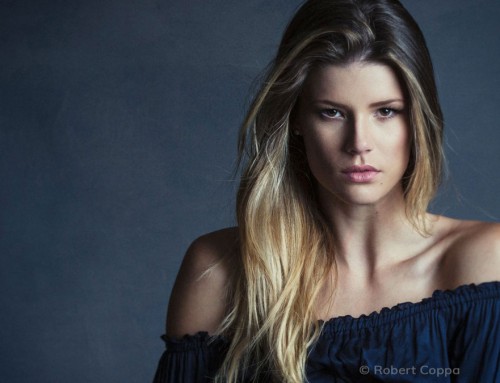
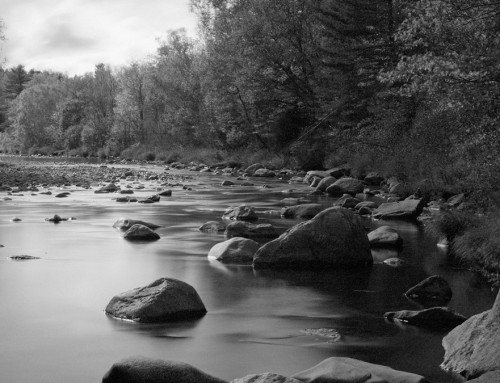
This video introduces you to several different types of image sharpening, and it explains when to use each kind. There are several unique reasons to add sharpening to your photos. Learn how to get great-looking sharpening results by adding the effects during various periods in your workflow.
Photos: April Milani, Anne Helene Gjelstad
Transcript
Technical Correction
The first common need for sharpening is technical correction, which is when images out of the camera appear soft. Use the controls on the Sharpening panel to correct this.
It is best performed at the beginning of your editing workflow. For accuracy, it’s helpful to zoom into an unscaled 100% or 1:1 image. When applying sharpening, pay attention to detail areas with hard-edges. Pan to an appropriate place in the photo using the navigator.
Start with the Amount slider. Temporarily maximizing this value makes the results of the other sliders are more noticeable. Hold the Alt or Option key down while adjusting these sliders to toggle a real-time visualization of the adjustment.
Radius controls the width of the sharpening area around each edge. Use Radius to target the hard edges of your photo.
Detail controls how much of the fine textures, like pores, wrinkles, or fine body hair on the skin are boosted; as well as grain at higher levels.
The Masking slider controls how much contrast there needs to be between colors for them to be sharpened. A higher amount means only higher contrast areas will be sharpened.
Be careful of sharpening low-contrast areas like smooth skin. Too much sharpening can make them look rough and speckly. After making adjustments, you can compare the edits with the original image with the backslash key.
Creative Sharpening
Creative sharpening is performed for aesthetic reasons using the controls on the Focus panel.
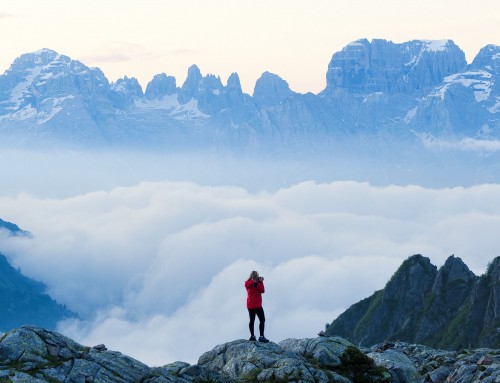
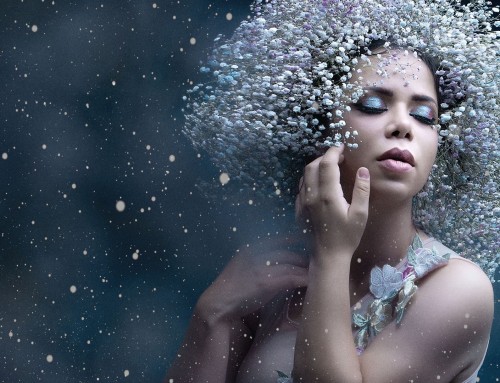
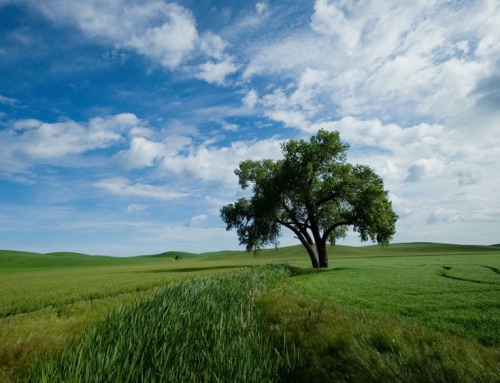
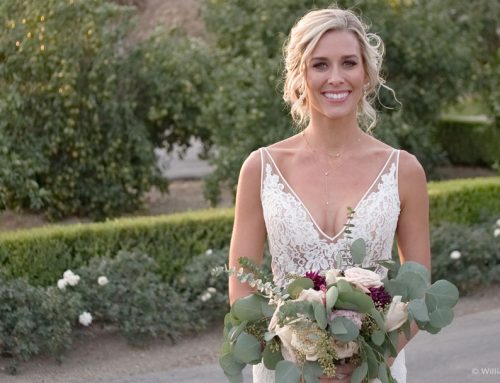
Landscape photos can usually handle stronger or punchier adjustments to clarity, sharpness, and saturation. On the other hand, portraits usually look best with more subtle effects.
It’s helpful to use Exposure’s brush to apply sharpening to specific parts of your image. In a landscape, you can use sharpening on main horizon lines to accentuate the separation between the middle and background.
Amount adjusts the intensity of the effect, or how much contrast is added to the edges in the photo. Radius controls the size, or how wide the sharpened edges become. Threshold is similar to the masking control in the Detail panel. It controls the minimum brightness change or amount of contrast an edge needs in order to be sharpened. Higher values exclude more areas.
There are several presets available from the dropdown. Their effects range from subtle to aggressive. A larger radius is one of the ways to achieve a punchy effect mentioned earlier.
Apply the effect to just the horizon by brushing. Click the mask thumbnail to open the brushing panel. When the mask thumbnail is white the effect is applied to the entire photo. Invert Mask will turn off the effect everywhere. Then use the brush to apply the sharpening locally.
To preview the effect on the image, toggle the layer on and off. Use the layer opacity slider to reduce the strength.
Sharpening for Ink Diffusion
Ink diffusion occurs as various papers absorb ink during the print process. This can make prints lose some sharpness. The Output Sharpening options in the Print dialog compensate for ink spread, so prints from Exposure always look razor sharp.
Output sharpening is integrated into Exposure’s print process. However, if images also need enlargement before printing, check out our resizing application Blow Up, which performs both resizing and sharpening in a single step.
When sharpening for ink diffusion, start with a low sharpening amount because it provides a noticeable but not dramatic sharpening which is effective for most prints.
A small sharpening amount will affect only fine details like hair, and a wide radius will sharpen larger details if your print will be viewed at a distance. Use the media type list to select the appropriate radius for your paper type.


