Watch this video to learn the basics of using Exposure and about the important features for photo editing and organizing.
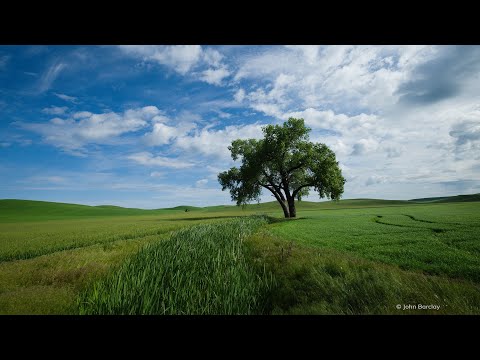
Photos: John Barclay
Transcript
You can also use Exposure as a creative editing plug-in for Photoshop or Lightroom. We have videos that show you how to get started with those programs on our website.
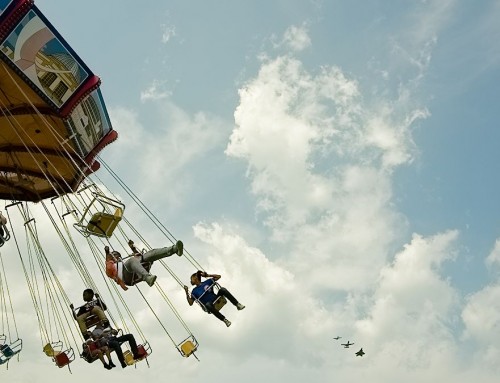
Copying images from a camera card is usually where the workflow begins. We’ll start there, and then we’ll get into organizing and culling or editing the shoot down to the top selects. When a camera card is placed in a card reader, Exposure will recognize it and open the Copy Images From Card dialog.
Organizing Photos
Notice the numbered sections along the top of the panel. In Step 1 you select where the images you want to copy are located. In Step 2 you review and select which images to copy. And in Step 3, you set where you want the images to be saved and you can set any other file handling options. Once complete, press OK.
To learn more about copying photos from your card, watch our tutorial video.
On the left of the screen, in the Folders panel, you can navigate to folders on your computer. Exposure doesn’t use a catalog, so this is the same folder organization as your hard drive. Select a folder to view its contents. If you have a lot of images, it’s useful to categorize them. Exposure has a number of tools to help you keep organized.
There are star ratings…color labels…and flags. You can use Exposure’s keyboard shortcuts to categorize. Exposure provides customizable keyboard shortcuts for editing and organizing tasks, which greatly speed up your work.
Exposure also has advanced categorization features like keywords, collections, and smart collections. Visit our website for tutorials about those and other organizing features.
Once you have categorized your images, you can set filters to change which images you see. For example you can show all images that have four or more stars.
Clear the filter by pressing Cmd+O (or Ctrl+O on Windows). And then filter by color label…or by flag. I can easily hide all images flagged as rejects. You can also sort your images in many different ways, such as by camera model, or star rating. If you don’t see the images you’re looking for, Exposure’s metadata search makes them easy to find. You can search by camera, lens, shutter speed, ISO, and many other criteria.
Editing Photos
To edit an image, double-click it to switch to a single image view.
Images in the same folder are available in the filmstrip view in the bottom dock. Click to select another image or use the arrow keys to move through them in sequence.
The Presets panel on the left dock is where to find Exposure’s library of creative looks. The presets are organized into folders. You will find color and black and white films, focus effects, faded films, and more.
For portraits the Color Films – Print – Low Contrast category is a great option. There are a number of subtle color effects in this category that will work great on portraits because they make skin look smooth and healthy. The small thumbnail images in the panel show what the effect looks like on the photo.
When the cursor is over each preset thumbnail, the large preview image in the center updates so you can see the effect at full size. Once you find a look you like, click to select it. With a preset selected, refine the effect with the sliders on the editing panels.
Making Adjustments
Note that all of Exposure’s editing controls are available all the time. Even when you are viewing thumbnails you can still edit photos. Start with the Basic panel, which has controls for fundamental adjustments like exposure and saturation. At the top of the panel are the automatic enhancements.
Click Auto to apply intelligent adjustments. Use the menu button to select which auto enhancements to apply.
To compare the edits with the original image, hold down the backslash key.
Exposure features a brush tool and a spot heal tool, so you can quickly retouch your photos. These work especially well for making refinements to portraits.
Exposure also provides fast, non-destructive layering, so you can blend multiple presets, edits, LUTs, and special effects.
Exposure’s histogram helps you avoid clipping in the shadows and highlights. You can make adjustments directly on the histogram to edit your image. You can drag, as well as reset shadows, exposure, and highlights.
Exposure’s presets are great for achieving more dramatic effects, too. There is a wide selection of black and white film emulation presets. Simply hover over options and select the one you like most. This preset enhances the detail in the sky and the foreground grass.
If the preset is too strong, turn it down by adjusting the overall intensity slider. This controls how all of the effects are blended with the original image. For black and white images, Exposure can adjust the overall blend on either a black and white or a color base image.
To undo an edit, or to see a record of your creative adjustments, expand the History panel. You can see the exact values for each adjustment made to the image. Hover over each entry to see what the image looked like at that point in time. You can click a history entry to roll back to that state.
When you are finished editing an image, your edits are remembered, so there is no need to save. If you quit and come back, everything will be just as you left it.
You can export your image to use it with other applications, which is useful for preparing to send to a print service or sharing online. Exposure gives you many different options here, including image size, file type, and file name.
You can easily print photos directly from Exposure. The Exposure Organizing – Printing video demonstrates how to use features like integrated watermarks and printing grids of photos as contact sheets.