
Live theatre photography is technically challenging, but it can be learned through trial, error, and research just like everything else. The real issue is time. Images have to give viewers a favourable impression of the live show, and they have to be ready to publish, instantly. That’s where Exposure’s workflow really became desirable for me.
I use Exposure for speed, image quality, and reliability. It’s the primary tool in my post-processing workflow. Improvements in the RAW processing capabilities in Exposure X4 have enabled me to cancel my subscription with Phase One. Now my workflow is as simple and fast as it needs to be.
The Need for Editing Speed
I shoot for West End and provincial theatres, irrespective of the size and the prestige my post-processing is the same. I’ve used a mixture of pre-selected images in this article. Unless it’s a long-running show, the turnaround between shoot and delivery is measured in hours. You have to be prepared to lose sleep to deliver the images on time. Between the installation of stage, props, backdrops, flats, lighting, and the opening performance, there will be one full dress rehearsal, two if you’re lucky. The actor’s performances will likely be perfected already, but the rest of the production might not be as finished.
The lights may not be focusing correctly, or they may be too strong or too weak. Also, the lighting will switch between extremes of light and shadow in different scenes, or they may use different hues, and all of them may need adjusting. You can forget about using auto white-balance when every scene uses different colored lighting. Additionally, the stage painting may not be complete, or sections of the stage might not even be built. The performance may stop suddenly, there will be scattered cables and equipment everywhere, and there may be an open orchestra pit you have to be careful not to fall in. You have to be as close to the action as possible, while not getting in the way.
Thinking Strategically
I shoot with two pro Nikon cameras and one Fujifilm X-T2. The Nikons are for the live stage, and the X-T2 is used for backstage shots. All of my cameras are set up to shoot lossless compressed RAW and fine/large JPEG. I use the JPEGs for the culling process because they have practically zero rendering time in Exposure. After the shoot is narrowed down to my winning shots, then I can switch to the RAW files for editing.
Firstly, I take a total count of the images I’ve taken. I use this to monitor my progress through the photos. It’s vital I keep my energy levels and focus up, and seeing the number of candidate images reduce as I complete each stage gives me a sense of being on target. I also use it to gauge how brutal I am in the culling process. If too many survive a specific phase, I edit again with more prejudice.
Ultimately, I’ll be evaluating the images based on emotional impact, but I can’t start there. Depending on the type of show, I could have anywhere between 1,200-3,500 images before I start culling. Getting drawn into the emotion of the images with that many to choose from isn’t recommended. I have to keep moving, and trust my instincts. I use Exposure’s star rating system (1-5) to narrow things down until I’m left with a manageable group of selects. That’s when I start using the emotional eye.
Fast, Easy Culling
I don’t “cull” a shoot by removing photos, instead I promote them through a series of passes. Winners are assigned a rating 5, but 3’s and 4’s may still have their place in certain contexts. I find it useful to send clients my recommended 5-star winners, but I make 4’s available to them if they need more options. Also, actors will ask for images of themselves that didn’t make it to the official promotional materials. It’s always good to have other quality options on hand.
1-Star: Focus
Anything in proper focus gets 1-star. Focus isn’t a subjective or fixable phenomenon, so this is a natural choice as the first step. During this step, I hide the Exposure’s panels and enlarge the thumbnails to fit four images on the screen at a time. This enables me to move down through the photos, and quickly mark each one by pressing the number 1 key. This rates them with a 1-star for proper focus.
At the end of this pass, I set the filter to hide any images without a 1-star or higher rating. Then I double check that the image count is where it needs to be. Having a high number of images at this stage is a double-edged sword. It’s great that I managed to nail focus in low light conditions with fast moving subjects x number of times more than usual, but it will make the next phase longer.
2-Stars: Distractions
Anything that doesn’t have a prominent distracting feature gets a 2-star rating. I quickly assign the rating by pressing the number 2 key. Again, this is an early phase because it’s the next least-subjective point.
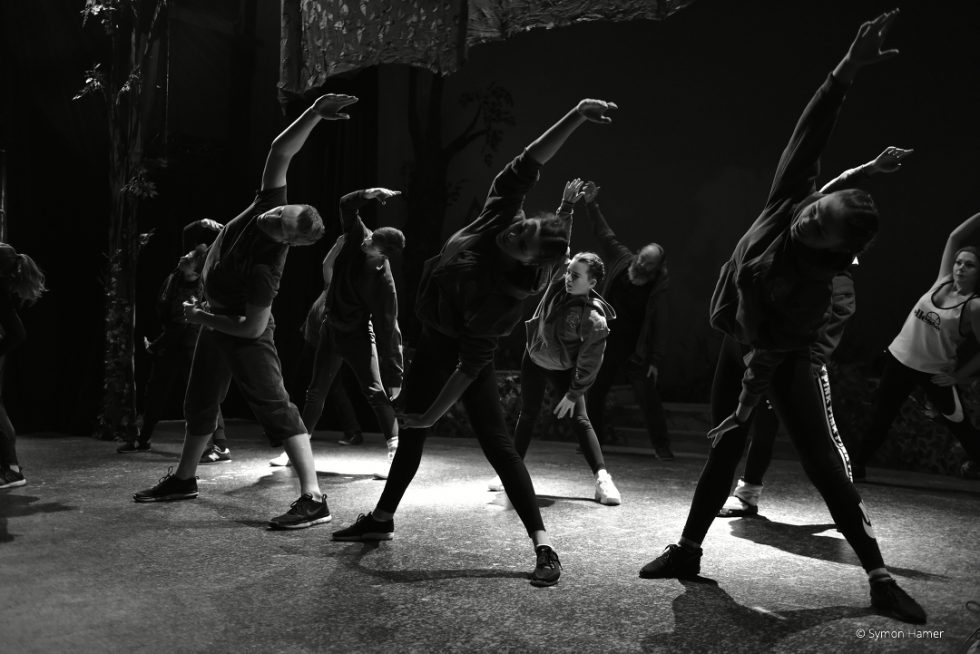
(image below – main focus is nailed, but the blurry hands in the front is a huge distraction).
3-Stars: Performer
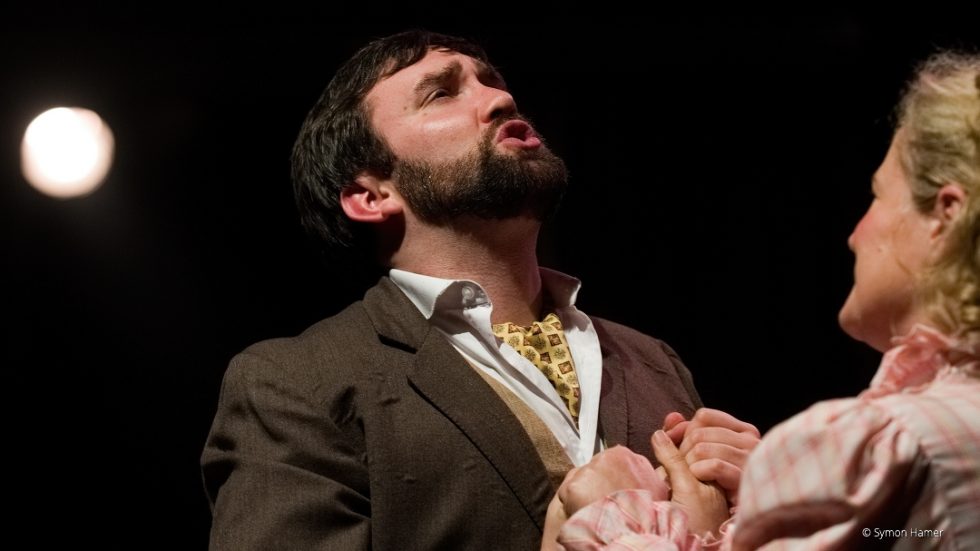
Anything flattering to a performer gets a 3-star rating with the number 3 key. Facial muscles can be massively exaggerated as stage actors push out volume and emotion. This isn’t meant to be a film, the performance is meant to look believable from 100 feet away. As a result, half-closed eyes, grimaces, stomachs sticking out where they aren’t meant to happens a lot. No performer is going to thank me for having something like that printed of them 6-feet high. Keeping the actors happy is key good for business.
4-Stars: Removing Duplicates
Through hours of live performance, I’ll be switching from single shot to burst shoots. This invariably means that by this phase, I’ll have a mixture of single shots and groups of images that are essentially of the same thing.
It’s important to keep the brain’s tasks as simple as possible. Picking a photograph because it has a great emotional impact is not the same task as picking a photograph because it’s the best one of a group. If you try to do both things at once, you’ll confuse yourself and slow your progress.
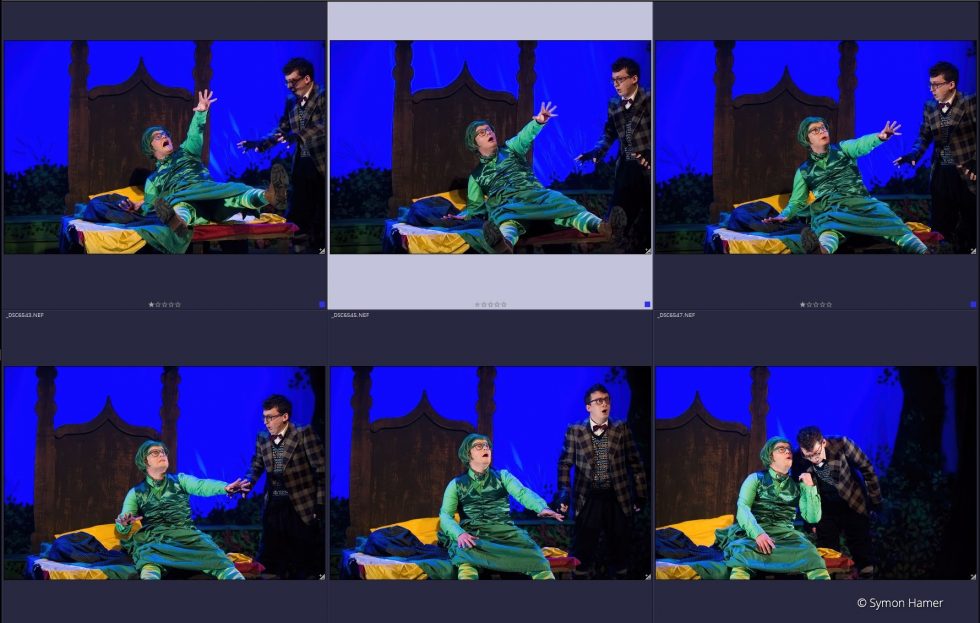
So, for this process, I’ll start using the color labels. I’ll label all groups with blue and all single shots with red. I then set the filter to only display shots marked with blue, so my brain can easily choose which shot is the best of the group. I choose the best one based on impact, gut feel, or a finer application of the rules I applied in the first three phases. There can only be one winner in each group. They are labeled red. After I have labeled a red photo from each of the group shots, I switch the filter back to show red 3-star photos. All the thumbnails will now be unique. I then select all, and click 4 – promoting all images to 4 stars.
5 Stars: Impact
By now I now have a reduced set of images that are all in focus, flattering to the performer, free from obvious distractions, and that aren’t duplicated. Depending on how successful the previous phases have been, I may have around 200-300 such images. Now is the best time to take a break, and then come back ready to engage your emotional eye. The next phase is purely subjective.
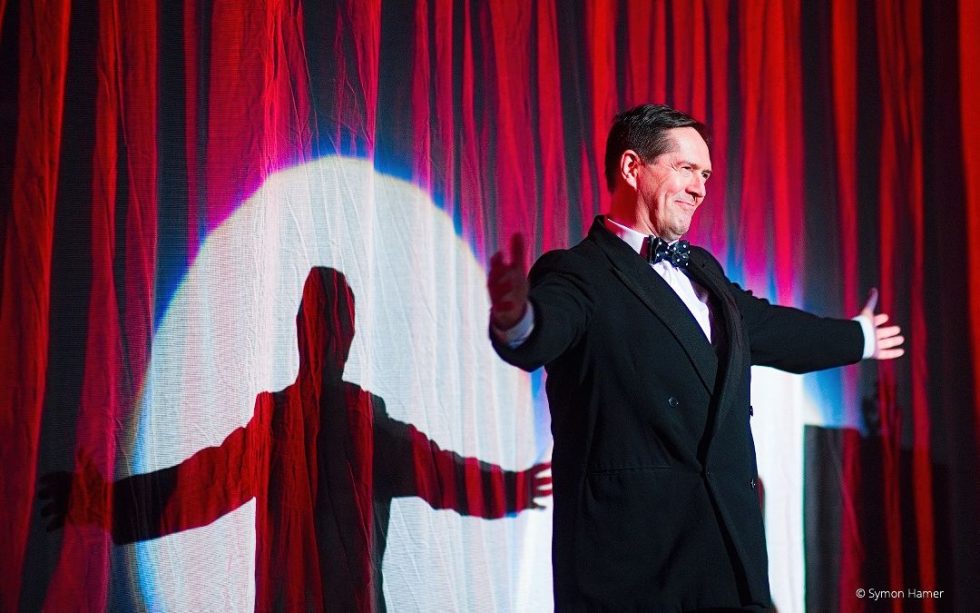
I’ll zoom the thumbnails to show a varying range of images at once, and click anything that hits me. That is a bit of an oversimplification of a quite complex subjective process. You’ll be taking into consideration the aesthetics, the type of show you’re shooting – but mostly anything that really hits you emotionally. The images have a job to do, they need to sell theatre tickets, and increase the artistic status of professionals involved. A clever, well-executed shot can be stale and lifeless, but you can easily spot a standout winner. These get a 5-star rating.
RAW Editing
Now we have our winning shots, so we switch over to perform editing on the RAW files.
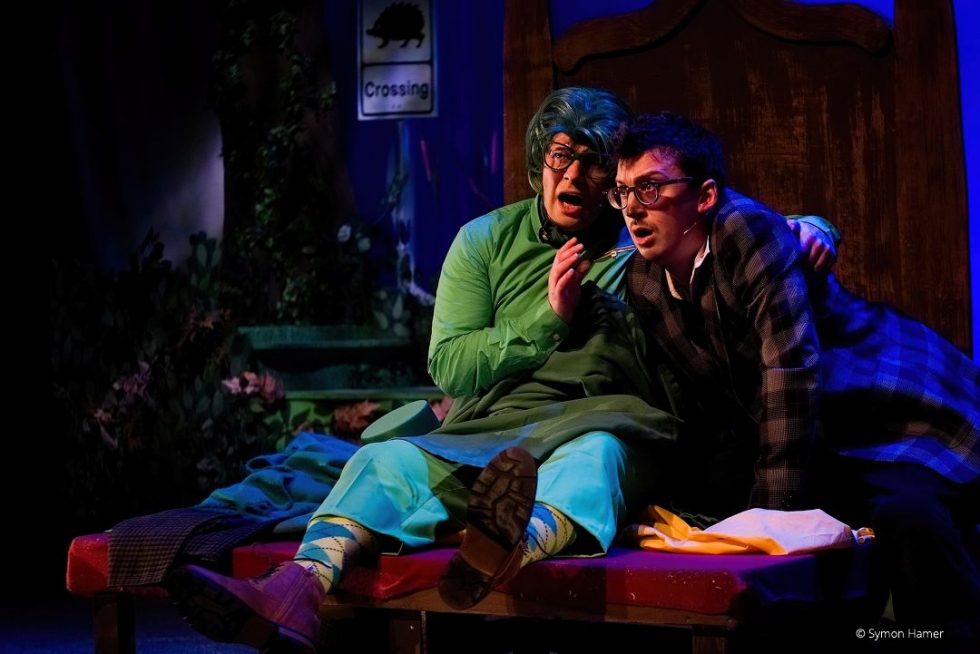
Theatre lighting can change from one extreme to the next in a moment. At first glance an image may appear to be far too toned in one primary colour to be useable, but the color temperature presets Cloudy/Tungsten/Shade can easily correct for it. I’ve been impressed at how Exposure has pulled back a saturated sensor into a great-looking image on many occasions. White balance isn’t something I worry about until this final phase. This is also when I set the blacks, contrast, and bring out the pop. I’ll also use the spot heal, and I’ll add additional layers for adjusting sharpness.
Notable Performance
I built my own custom editing computer system to maximize my production speed. So, from the ground-up, my PC is as streamlined as I can make it.
It has dual Intel Xeon six-core processors, 24GB RAM, SanDisk Extreme Pro SSDs, and a lightning-fast GPU. Even though this is an overclocked computer, I can’t stand to give up 30% of my computer’s resources to run Creative Cloud in the background. When I start uploading another 4,000 images, it will set off Creative Cloud’s indexing process. This would drag my PC’s performance to a halt for no good reason. I don’t need collaboration support, I don’t need to edit my images on multiple devices, and I don’t upload images directly to social media. And definitely don’t want some random and time consuming update happening. All I want is the editing speed I paid for. The kind of speed that Exposure gives me.
It’s not complicated. My clients just need their photos delivered by 9am the next day. Exposure gives me the processing speed I need to keep my clients happy. The editing tools in Exposure are high quality, it renders my RAW files beautifully, it’s easy to use, and it’s reliable. This is why Exposure plays such an integral part in my editing workflow.
Try Exposure Today


Thanks for sharing your work flow. Sounds great. After you have culled the JPEGs, I’m curious how you then cull the RAW files efficiently? To do so by manually matching up your JPEG keepers with RAW versions wouldn’t be so efficient. Can you set Exposure to simultaneously apply the ratings from the JPEG to the RAW files? That is what I am looking for.
Thanks for commenting, Richard. There isn’t a way to handle this in Exposure automatically. What you’re describing would be handled by JPEG and RAW pairing or image stacking, which isn’t available, yet. We have this capability on our list of features to add in future versions.
I export a small version of the JPEG’s to a specified directory, then use a DOS script to move the equivalent raw files to a different directory – which I then bookmark in Exposure. Don’t get the ratings tho!
Thanks for commenting, Symon. You can also use the metadata filter in the bottom dock to view only RAW images, or only JPEG images in the same folder. That’s another option when working with different types of files.