
We recently interviewed three working photographers for our Exposure X2 introduction video to learn how they’re using Exposure to handle their editing workflow.
Miguel Quiles was one of the photographers we spoke to. Miguel is a New Jersey-based commercial wedding and portrait photographer. He’s also an accomplished photographer and educator with 15 years of experience. His accomplishments include being a Sony Associate Artisan of Imagery, contributor for Rangefinder Magazine & SLR Lounge, and an experienced instructor whose workshops appear on CreativeLive and Adorama TV.
Miguel has been using Exposure for several years now, and works closely with Alien Skin Software.
Here are the highlights from our interview about how Exposure has revolutionized his workflow.
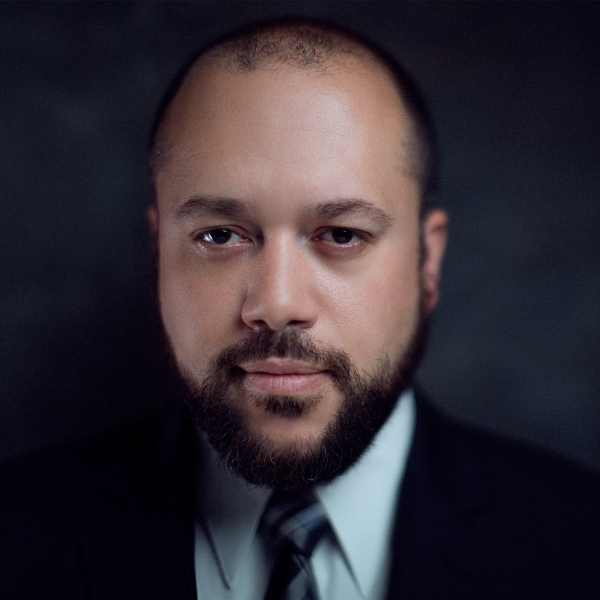
Image © Casey Cosley
Why Exposure?
Exposure is one of these programs that really streamlines my process. I make money when I’m shooting clients. The backend is part of the process, but I want to get through it as quickly as possible. Exposure helps me to create these amazing images and not have to sit for hours and hours in post production, not making money.
Where Exposure fits into your workflow
I typically use Exposure from minute number one. I use it as a launching point. I’ll have my image selected, then I’ll browse through the presets and find the one that I like.
Learning curve
I feel like the learning curve is a lot easier than many other programs that I’ve used. I can view all of my images within the folders inside Exposure, then very quickly preview and apply the presets that are right for that image or group of images.
Exposure has a very intuitive interface. Just hover over the presets to get a preview. The interns who work with me are able to use Exposure without very much information.
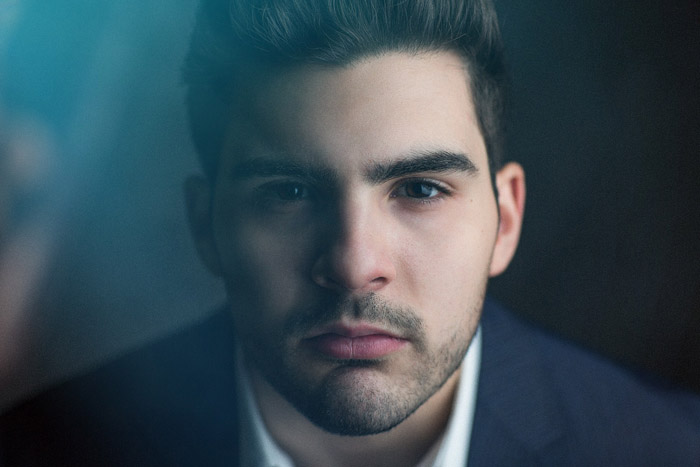
Image © Miguel Quiles
Working remotely
I use Exposure to work on multiple computers, which is awesome. I have my PC workstation at home, an office computer, and my laptop. Wherever I am at that moment, I can use Exposure to work on my images. I can pull up the files on Dropbox, so if I’m traveling, I can work on the files using my laptop and continue working seeing all of the adjustments and presets that I chose.
Non-destructive workflow
Having a non-destructive workflow is really important to me. I still want to have access to the original files, if my tastes change or the client wants a different edit. I like that in Exposure I can have the original file in case I need to make readjustments to make my clients happy.
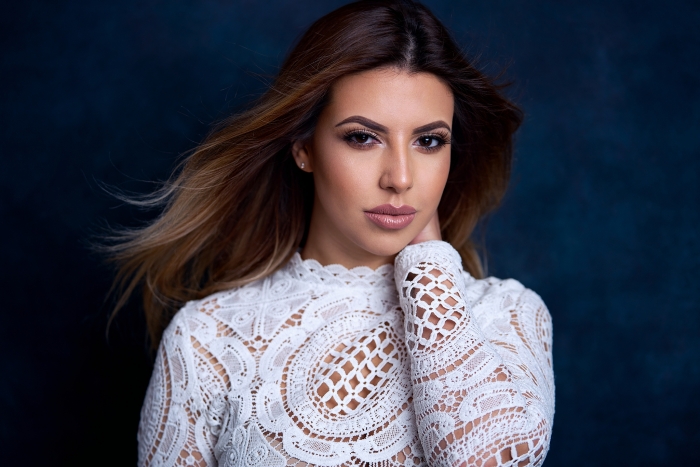
Image © Miguel Quiles
Fast image culling
Being able to rate my images while they appear in Exposure during the copy is awesome. It’s very important that I’m moving quickly through the backend of my workflow. So being able to quickly cull my images by giving them star ratings is great.
Managing the photo library
I like being able to search and filter my images using metadata. Say I wanted to find the images from a shoot that I shot with an 85mm lens, I can easily do that with the filtering. It makes it very simple to be able to find these images.
For someone like myself who is shooting a lot of portraits with a lot of different lenses and camera bodies, this is a very powerful, very useful tool.
Workflow efficiency
The fact that I can do everything within one window, within one program, is extremely powerful. I’d been used to going back and forth from one program to another, and one window to another. During long editing sessions, I’d sometimes get lost.
Within Exposure, everything is there. After selecting my preset, I’ll do healing, cloning, skin retouching, adding grain and sharpness. And doing all this in a way that is very intuitive. No need for a manual – just tweak the slider to taste, which is really awesome.
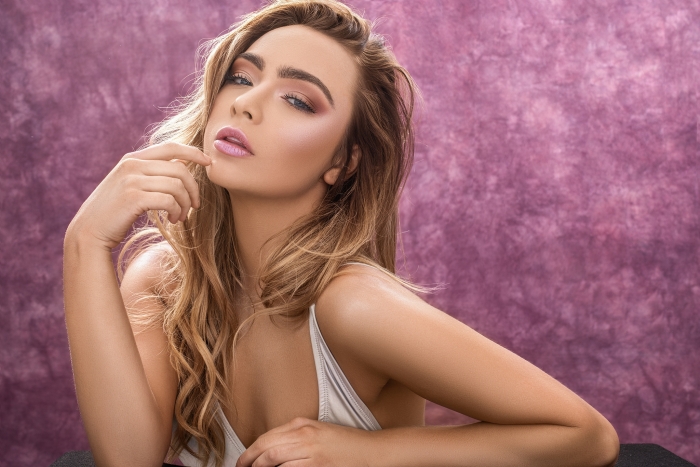
Image © Miguel Quiles
Gorgeous presets
One of the main things I love about Exposure is the preset library and the number of film emulations that it has. I started as a film photographer and I remember using all of these old film stocks. So I appreciate the beauty of each film stock. Until I used Exposure, I hadn’t found a program that emulates those films that I really love. Now I’m able to apply them digitally to my images, and do it in a way that I can hover really quickly to get a preview.
Because Exposure is really fast, I can choose a preset really quickly, and see other previews. It’s awesome to have the software be that responsive, so much so that I’ll sometimes come across things I didn’t think about using, and have that happy creative mistake of finding a new preset. It’s a very fast, very intuitive way to work with my images.
There are many presets that I gravitate towards. I love to customize the presets and save them as my favorites. I’ve built up a pretty substantial number of presets that I use.
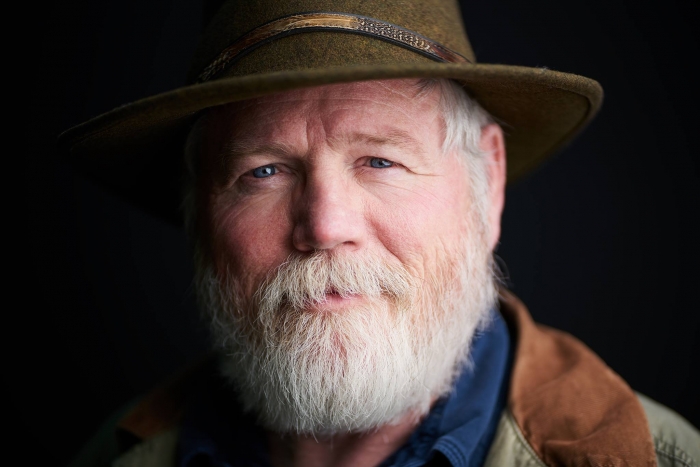
Image © Miguel Quiles
Favorite editing tools
I like all of the retouching tools. I used to have to run actions in Photoshop to do things like dodge and burn, skin healing, touch ups, and such. Within Exposure, I have these tools there. I like that within the one panel in Exposure I can do all this retouching and get a clean result.
There are other programs that offer some of the tools Exposure does, but the results sometimes look way overdone. Within Exposure, I can get a really natural, pleasing look when doing things like iris enhancement and teeth whitening.
Responsiveness
This is very important for me. I don’t want to spend a lot of time retouching, but I want to get a good result. In other programs, you’ll find that you sit around waiting for the process to complete. With Exposure, it’s extremely responsive. Even on my middle-of-the-road laptop, Exposure is extremely responsive. That helps a lot when doing portrait retouching because you want to see the results of your brush stroke immediately. This is an area where Exposure exceeds above and beyond.

Image © Miguel Quiles
Creative possibilities
Exposure’s grain panel has been kind of my secret recipe for how I work with my images. I started to realize early on when looking at commercial images that there was both a sharpness and a grain. With digital, that grain was lost. Now with Exposure, I have this grain tool where I can not only add grain to your image, but customize it as well. The roughness, the amount. So I can tweak it to have a very film look, or dial it back to have it only in the shadows, the midtones, or the highlights. Having that type of control is something I’ve never had outside of Exposure. And it’s very intuitive since I have the sliders for the shadows, midtones, and highlights. I add grain to every single one of my images, and they are all done in Exposure.
I also use Exposure’s overlay tools religiously. I also use Exposure’s vignette tool. I usually use the subtle black vignette, and protect the subject in my image. I like how easy it is to customize the vignette with different colors and shapes.
Every image has its own hero, that thing you are trying to show to viewers. Whether it’s the hair, the eyes, the makeup, the jewelry. In Exposure, there are a multitude of different tools available to bring that out.
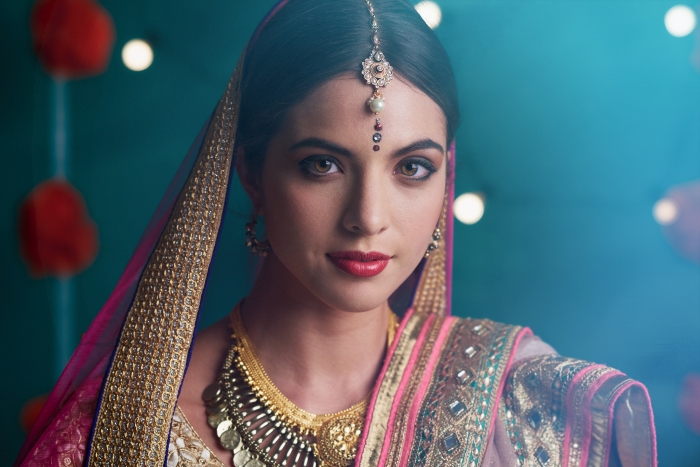
Image © Miguel Quiles
All-in-one solution
Not having to jump from one program to another has revolutionized my workflow.
One tool that helps make Exposure an all-in-one solution is the new layers panel. Being able to apply different adjustments and then readjust or remove any layers has made Exposure a one-stop shop for me for editing and retouching my photographs.
Image © Miguel Quiles
RAW converter
As a RAW converter, Exposure is excellent. The images look great. I am used to having to tweak the raw file before I even begin editing. I’ve been pleased with Exposure because the RAW file usually looks great as is. I love not having to spend time tweaking RAW files.
I also like that Exposure has lens correction. Sometimes it’s not even that the perspective isn’t correct, but that creatively I want to change things up. I might have used a lens I think is flattering for the subject, but then feel I should have used a different lens. I can go ahead and use the lens correction tool to play around with the image. All within a non-destructive environment.
Encouraging creativity
Exposure is one of these tools that opens up my creativity. Often times I’ll open up an image and not be sure where I want to go with it creatively. Because Exposure is so responsive, I can browse around and try different presets. I had one image recently, a dancer jumping in the air. I saw the image and liked it, but it wasn’t finished. I find the Bokeh presets and it had this motion to it, by adding this blur.
Exposure brought me into places creatively that I would not have gone on my own. My creativity usually starts within Exposure.
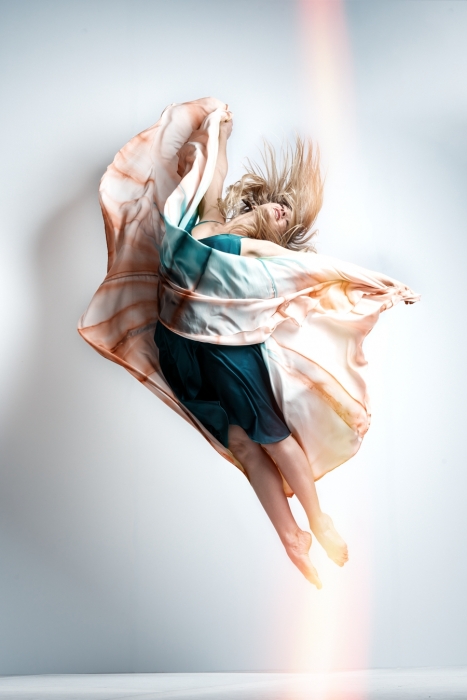
Image © Miguel Quiles
To learn more about Miguel, visit his site. You can also check out his instructional videos on his Youtube channel.
Try Exposure Today


Thank you for this interview, I love Miguel’s work and his desire to help other photographers be better! I purchased Alien Skin because my photography idols (Miguel, Sue) use this in their amazing work. Yet, I’ve been timid about playing with the program because it is so powerful that I’ve just frozen.
Miguel’s explanation of how he is using this motivates me to explore it some more.
Hey Sonia. You are very welcome, and thank you for the feedback! Yes, Miguel is awesome.
Because Exposure is non-destructive, it doesn’t alter your original files, so we encourage you to play around with it.
If you’re looking for a way to get started, have you considered watching our “Getting Started” series of video tutorials? You can view them on our tutorials page here: https://www.alienskin.com/exposure/exposure-tutorials/
And if you run into anything that our videos don’t explain, you are welcome to contact our support, who will quickly respond. Or to join the Exposure Facebook Users group and ask it of the community. https://www.facebook.com/groups/exposureusers/
We look forward to seeing what you do with Exposure!