
Mr. Joe did a wintry shoot during one of the recent blizzards here in NC. We chatted about the images and decided to do separate processing workflows with them. He is mainly a Lightroom guy & I mostly use Photoshop. Thought we’d both share our take on the images, and show you what we did. It’s not a competition, but make sure and vote for me anyways. ;-)
—
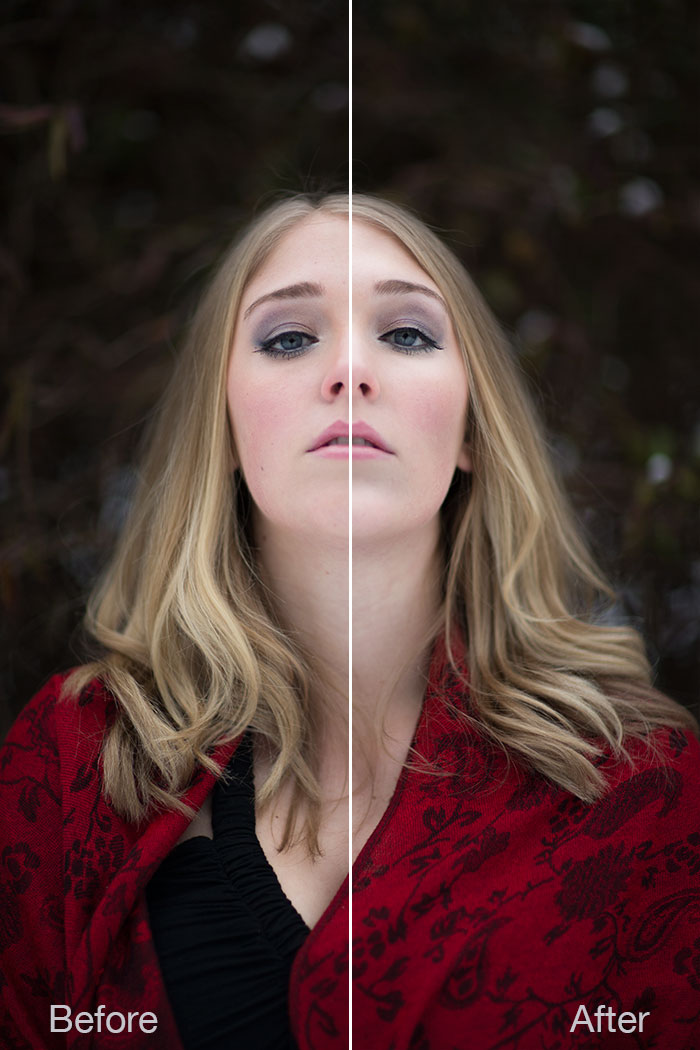
With any retouching or editing, I first take a step back and analyze the shoot. Basically, I’m looking for a story to convey through the images. A young maiden lost in the bitter cold of winter…Yeah, that was sappy, but you get the idea.
My feeling from the shots was that the model was shy at first. It probably took a little time for her to warm up to the camera and let her true self shine. Thinking of this, I chose to focus on emphasizing her confident side. A chat with Joe after the retouch revealed that my intuition was “spot on.”
Quick Retouch
 The model has great skin, which makes retouching a lot easier. When in Photoshop, I always duplicate the base layer before performing destructive actions such as cloning, healing, burning, or dodging. On the copy layer, I’ll perform a couple of touch-ups with the healing brush
Next, I turn on the rulers [⌘+R] and I’ll drag down a couple of guide lines for measuring symmetry. This gives me a mental map for any liquifying. There were few spots, but not many and they weren’t aggressive. Mainly, I adjusted the eyes to read as symmetrical as possible–not perfect, just symmetrical.
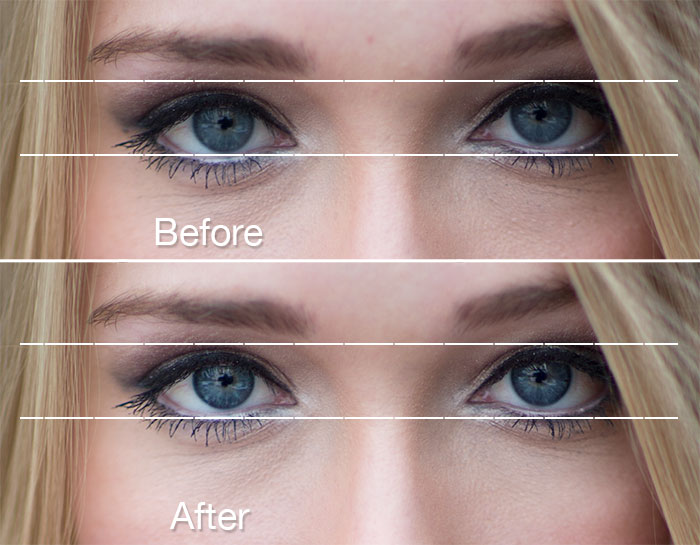
I moved the left eye up a scosh. With the guides you can see how miniscule the adjustment was. I also added a little sharpening to the eyes and lashes in the after shot.
Back in the Photoshop playground, I added some highlights and shadows to the face. I wanted to sculpt the lighting and make her face appear more dynamic. Adding dimensionality to her face will reinforce the feeling of empowerment. In theory.
Next, I did a sharpening tweak to the eyes and lashes. Nothing crazy. Yes, I’m a hypocrite. I recently wrote an article about sharpening as a final step in the workflow. I stand by that, by the way. This was just a localized tweak to enhance the eyes. Sharp, defined eyes and lashes make them read stronger. I’ll use global sharpening when I save out the finals.
The Fun Part: Effects
I’d say the retouch is done here. Not too bad. 10 minutes? Effects come at the end, at least in my workflow. Usually, I’ll start with Bokeh. I really like grainy photos, so I will be introducing grain at some point. Bokeh has a grain matching feature which works really well, but I plan to introduce grain with Exposure, so there’s no need to pepper it with grain twice.
Bokeh
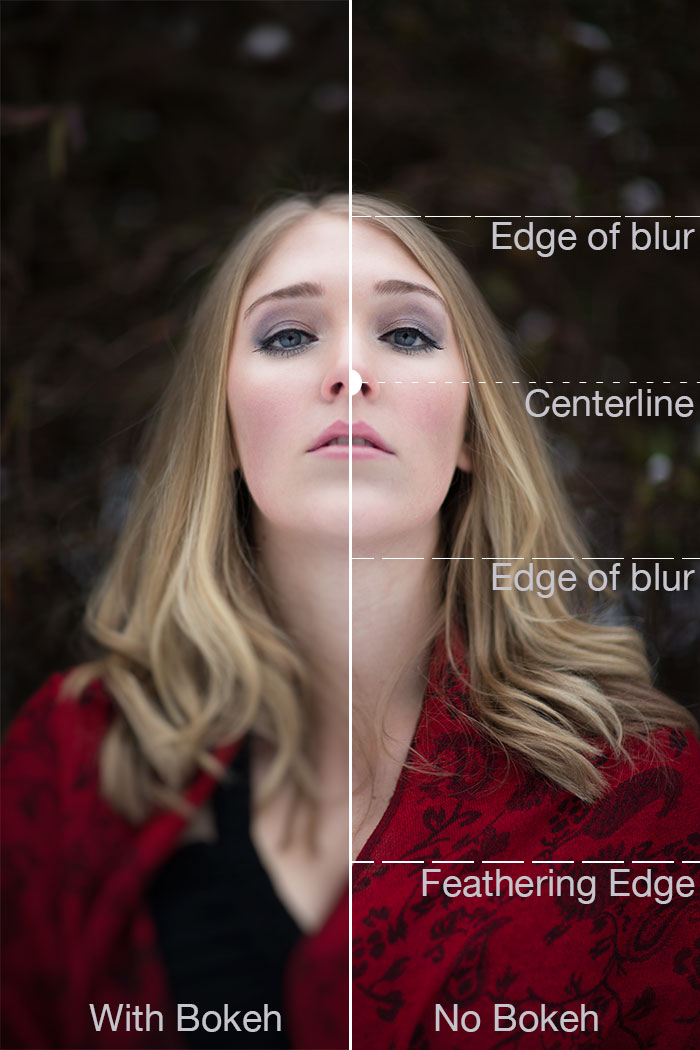
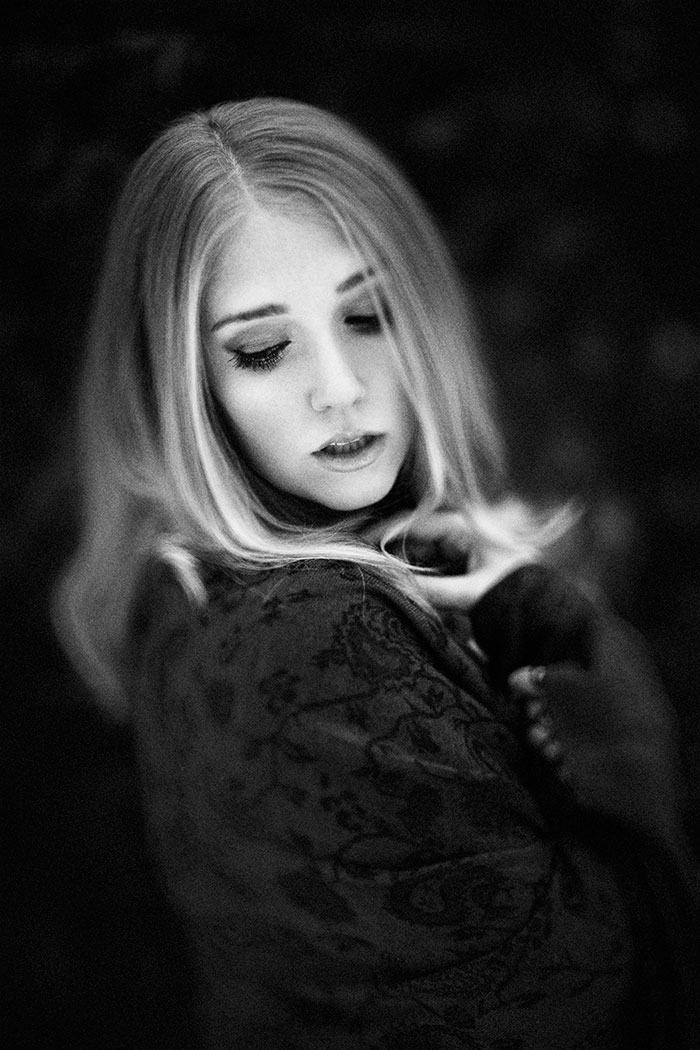
I used a full planar focus region to frame the face. The feathering edge was set wide with a low Bokeh amount. I wanted the blurring to become visible right at the hairline. As a bonus, it took care of a few flyaway hairs.
In Bokeh, I usually try a number of things in a specific order. I’m a creature of habit, what can I say? First, I do some basic experimentation with lens options. When I settle on blurring characteristics that work with the shot, I’ll hop over to the Bokeh tab and play with the focus region. This is where I spend most of my time.
I usually fiddle with a radial focus region, then I’ll move on and use a full planar. If I can’t get the look I’m after with that, I’ll use multiple half planar regions. When I get the region set, I make tweaks on the Bokeh tab, and on the Vignette tab to dial in the look.
Exposure
I take advantage of Smart Objects in Photoshop whenever possible. They make tweaking effects easy. If you are doing a heavy retouch or a lot of comparisons, like me, you may want to skip it. Smart objects can add significant size to the file if you are making dozens of copies for experimenting. It’s just something to keep in mind. For comparisons, I’ll have a number of Bokeh layers, so I can grab from them and apply Exposure effects.
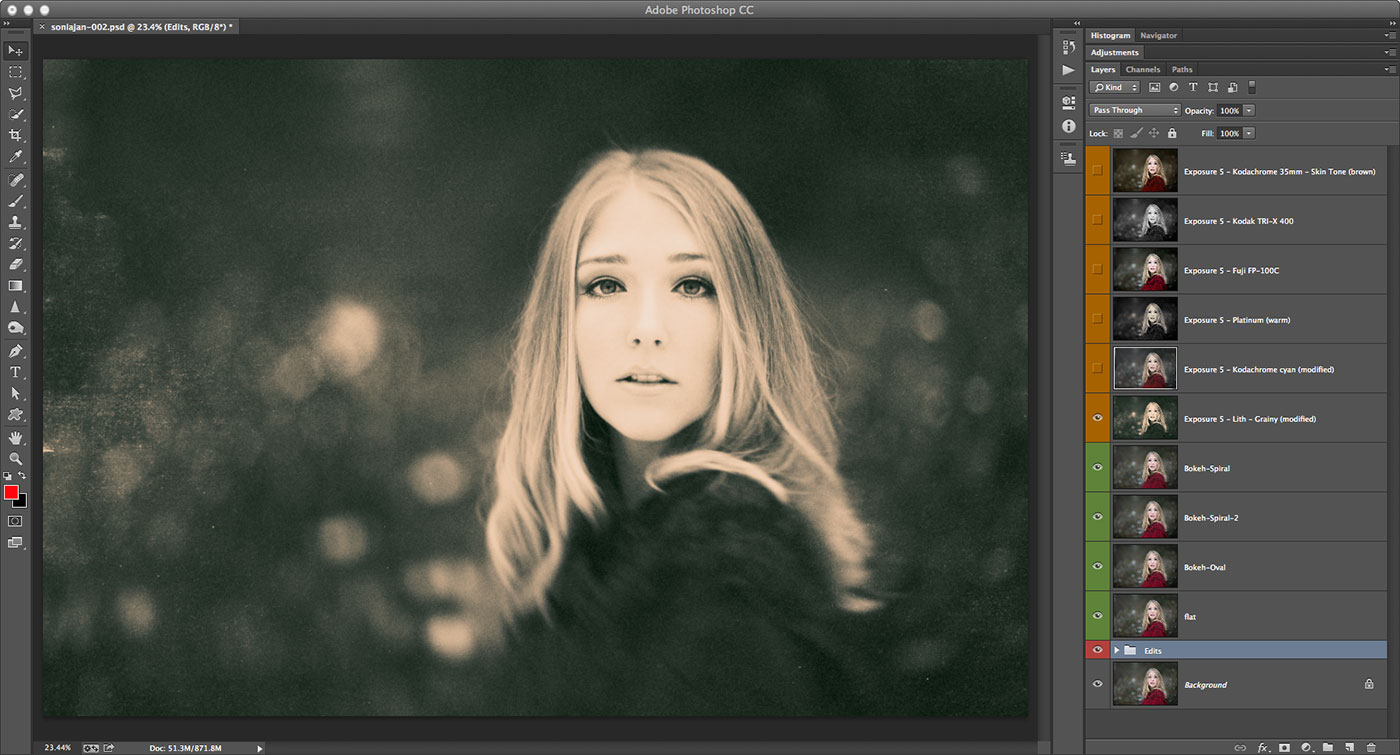
In the Layers panel, I color-code layers based on effects. Click to view a larger version.
In Exposure, I immediately drag the preview pane out a wide as I can. This makes the thumbnail previews as large as possible. Makes it easier on my eyes. I have a bunch of favorite looks in mind, and that’s usually where I start, but sometimes it’s best to go on a hunt. I’ll use the stars to mark the looks I like as favorites.
Then, with a small pool of favorite effects, I test them out on the full-sized image. I’ll shrink the preview pane and revisit each of my selected favorites with a critical eye. This is when I make any tweaks to the effect. Mostly the effects are image specific, so I’ve added comments in the captions below.
All in all, I’m happy with the way the retouch turned out. I ended up with a bunch of different looks that I like. I can’t decide on which versions work best. I’m open to opinions, so let me know what you think in the comments.

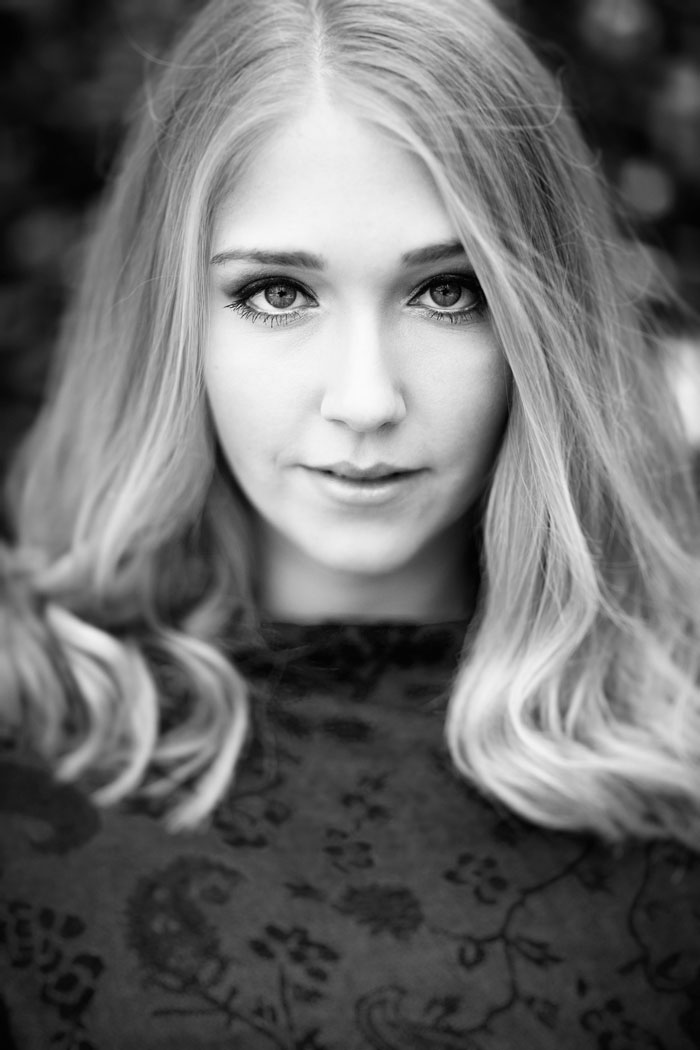
Bokeh: Canon 85 [email protected] w/Oval Focus Region
Exposure: Kodachrome 35mm Skin Tone (Brown)
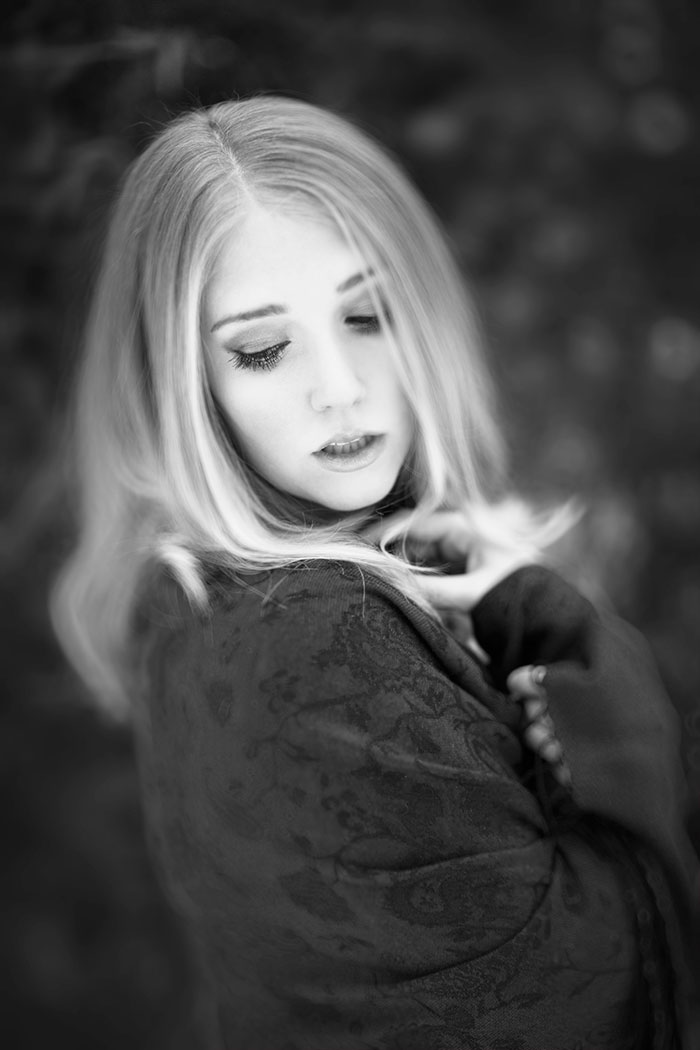
Bokeh: Spiral 10% w/Planar Focus Region, Horizontal
Exposure: Lith, Grainy
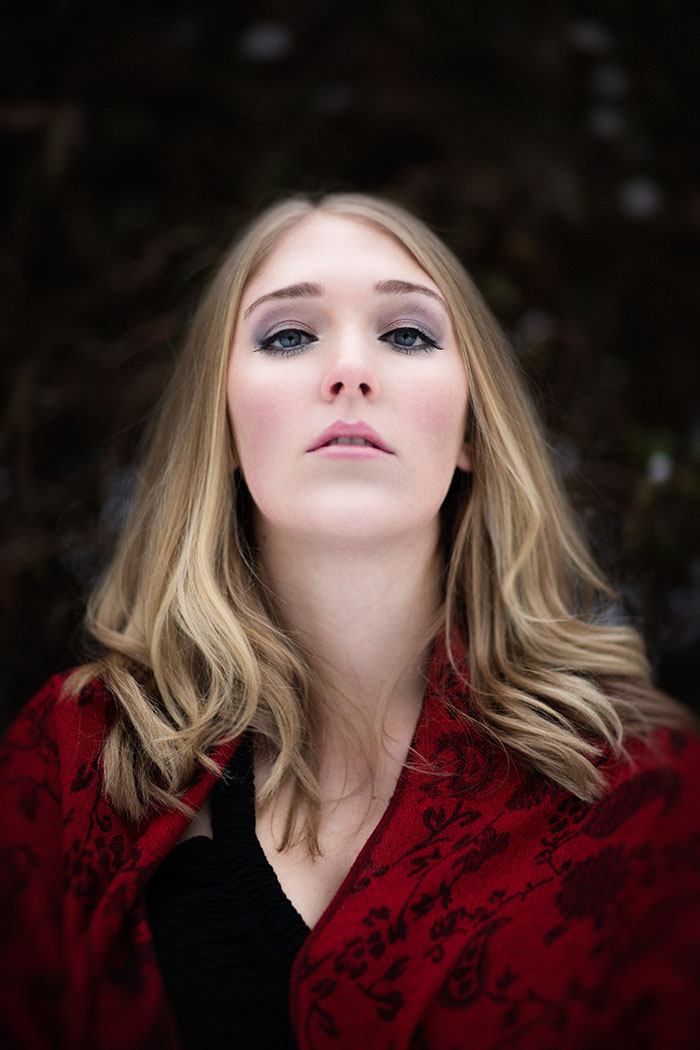
Bokeh: Sony 24-70 2.8@f/8 w/Oval Focus Region
Exposure: Kodak Technical Pan
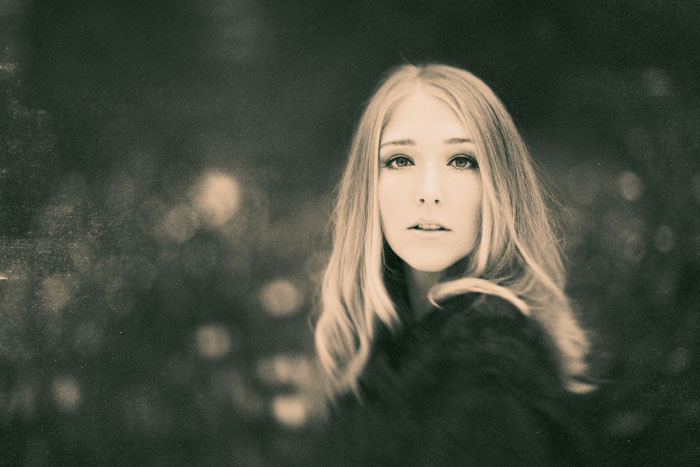
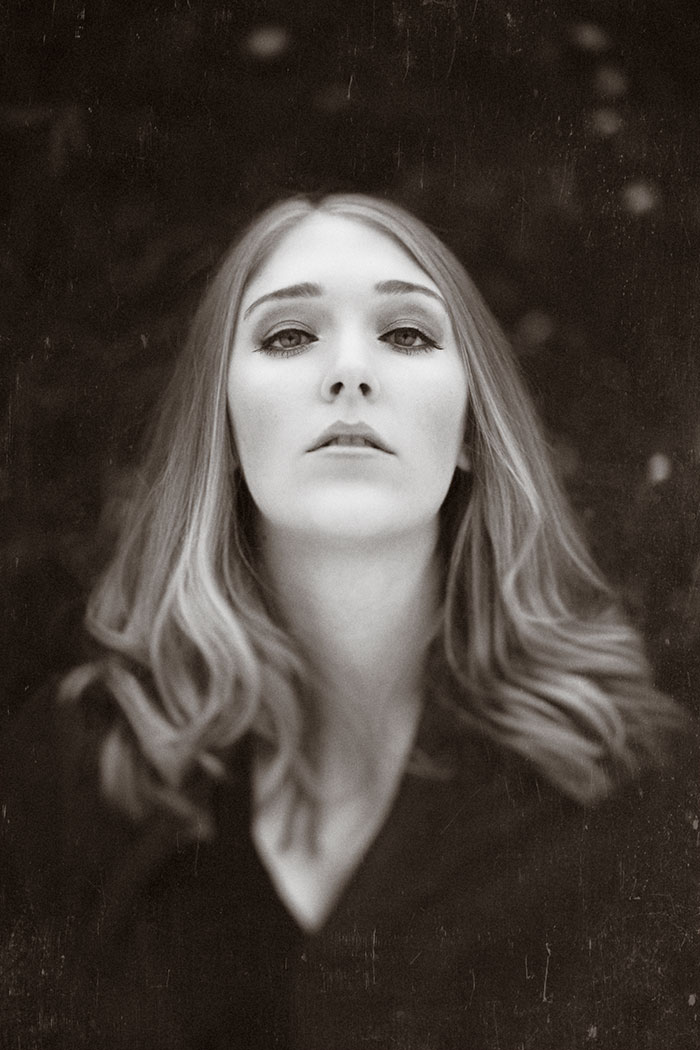
Bokeh: Sony 24-70 2.8@f/8 w/Oval Focus Region
Exposure: Kodak T-Max 3200 w/Kodachrome Border

Bokeh: Canon 50 1.8@f/5.6 w/Planar Focus Region, Horizontal
Exposure: Polaroid 669 Creamy Blown Highlights +
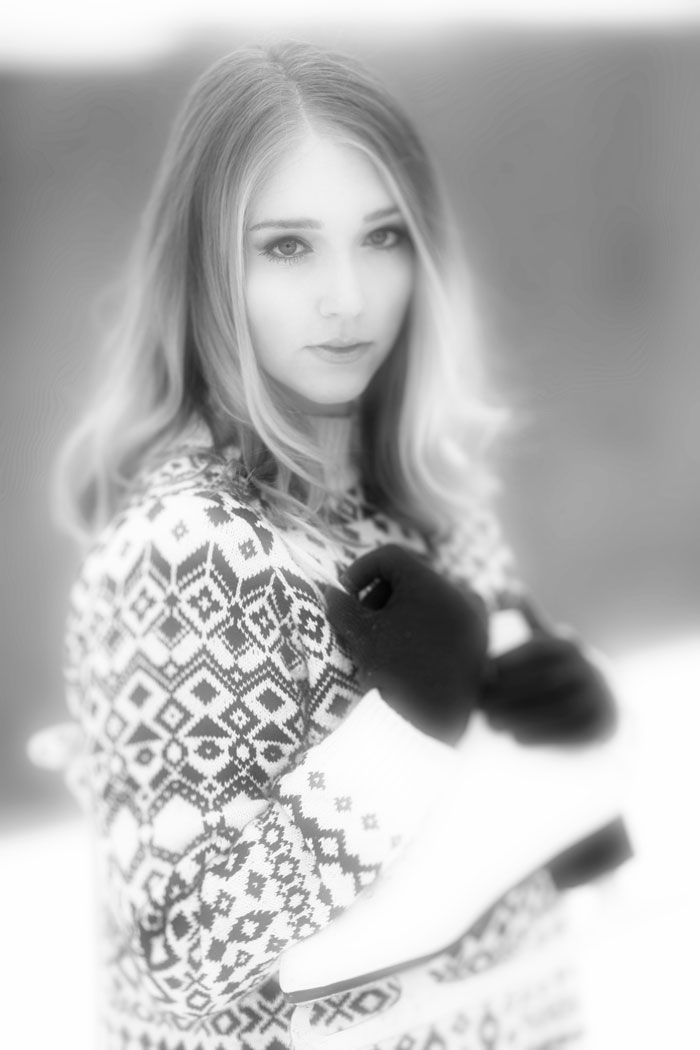
Bokeh: Canon 50mm 1.8@f/5.6 w/Planar Focus Region, Vertical
Exposure: IR Fog White Out
Bokeh: Mirror Lens w/Oval Focus Region
Exposure: Polapan
Bokeh: Mirror Lens =, Boost Highlights w/Planar Focus Region, Vertical
Exposure: IR Fog White Out
Bokeh: Canon 85 1.2@f/5.6 w/Oval Focus Region
Exposure: Portra VC 160
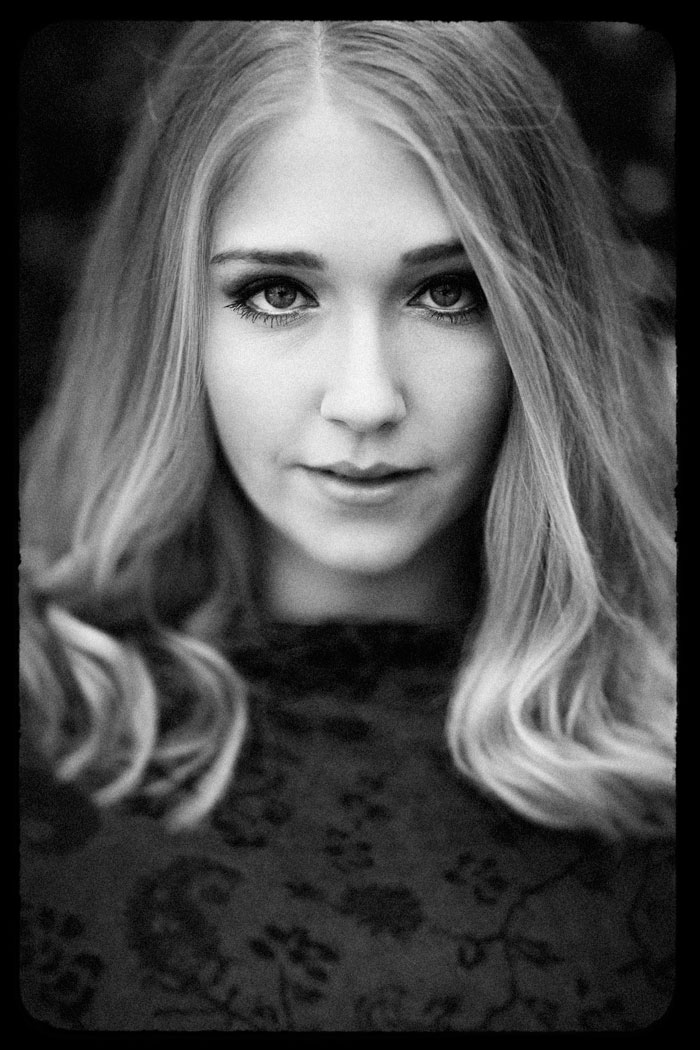
Bokeh: Canon 85 1.2@f/5.6 w/Planar Focus Region, Vertical
Exposure: Daguerrotype Sepia w/Scratches, No Border
Try Exposure Today


Beautiful images and very informative! The color images are my favorite!
[…] ← Winter Shoot Edit With Bokeh, Exposure, & Jimmy […]
I like them all, but the ‘Kodak T-Max 3200 w/Kodachrome Border’ is the best.