
Photo retouching beyond blemish removal.
So you may have heard about how Alien Skin is hard at work on Exposure X2. With the release of Exposure X, we were able to use Exposure as a standalone photo editor and image management application. This meant separation from Lightroom or Photoshop and a movement towards a great alternative to Lightroom.
With Exposure X2, things are getting even better. In addition to the newly added History Panel and Metadata search options, we will also have Spot Healing to help us with our photo retouching needs!
The most obvious use for spot healing tends to be on faces to remove those annoying little spots, and maybe even to soften some lines here and there. For this article, I wanted to share other genres of photography where spot healing may be effective.
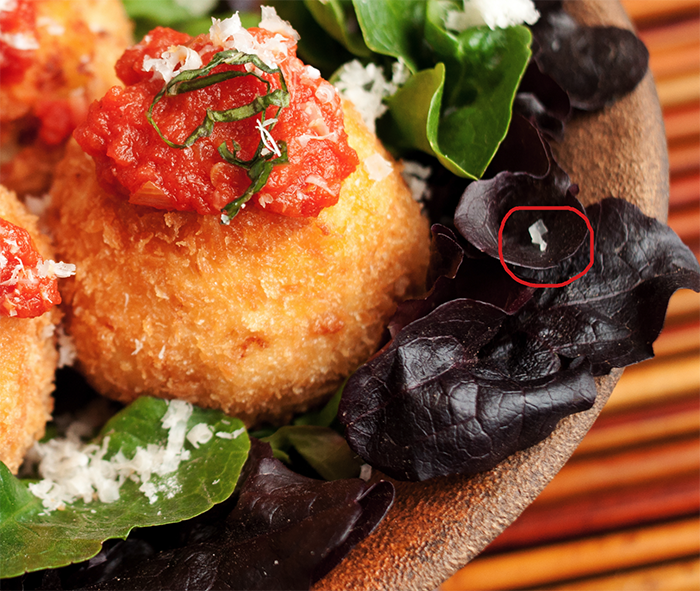
We can use it for food photography to catch errant pieces of parmesan cheese.

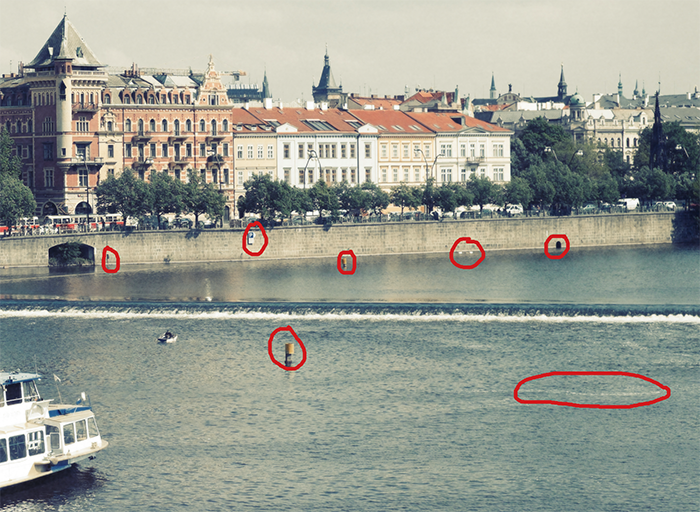
We can use it for travel photography when there are a few elements we can’t avoid having in the image. For the image below I used the Clone option, setting the Opacity at 100% so nothing bleeds though in the clean-up areas.

Vltava River, Prague, Czech Republic — Before

Vltava River, Prague, Czech Republic — After Spot Healing
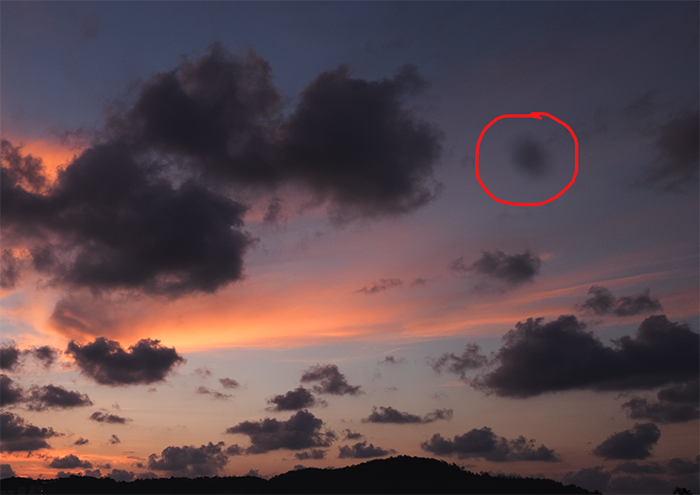
We can use it when we get dust or a blob of “I don’t know what that is” on the sensor. I was in Thailand and up super early every morning to capture sunrise. After taking a few snaps I noticed the issue. As soon as I noticed it, I quickly resolved it, however some of my favourite images from this sunrise have the blob! So, thanks to the Spot Healing tool I was able to remove it. For this example, I used Heal instead of Clone to achieve a really nice result.


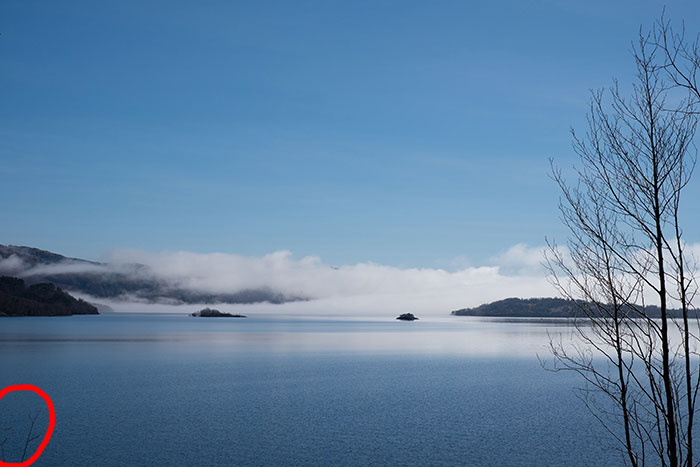
We can also use it to remove random tree branches that creep into a scene. On the right side, they’re working for me, but that little bit on the left corner is a distraction. I used the Heal option for this, and it did a great job.

For me, these little fixes can make a world of difference in an image. My goal as a photographer to get as much of the image as possible, right in camera, but I’m not perfect. Some photo retouching is sometimes necessary. And in a couple of these examples, there is no way around doing a little bit of cloning to clean up an image. It’s nice to know that we have awesome software like this to fix these little things, after the fact.
Now that you’ve seen some examples, I know you are ready to give this a try! Begin by selecting the image in Exposure that you want to work on. From there, tap the 1:1 zoom button (at the top of the dock on the right-hand side). I find zooming in helps with accuracy when using these kinds of tools.
Then click the bandaid icon, below the Histogram. That opens the Spot Heal panel.
Once this is active, you can change the size of the brush, either with the slider or with your
When you have selected an area, Exposure X2 will look for a similar area in the image to copy information from. Most of the time the program will nail it, but if it doesn’t, you can move the “copy from” area around until you find the right spot. Play about with the Feather and Opacity controls to put on the final touches.

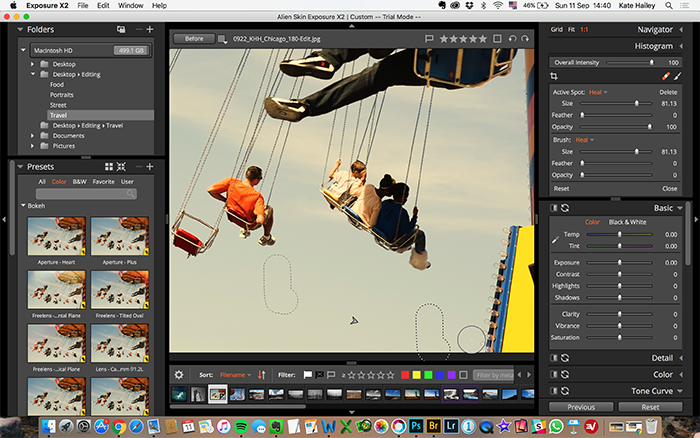

Swing Ride, Chicago Navy Pier
Boom, you’re done!
Tips:
- Active Spot affects the area you’re currently working on, Brush lets you set the tool for your next stroke.
- Hold the Spacebar to switch to the move tool. This lets you move around in the image to find areas to heal.
- Play around with the feathering. Once you’ve selected an area, this will change the size of the original area painted and soften the edges.
- Adjust the Opacity slider, generally closer to 100%. If the Opacity is too low, you won’t see the affects of your work.
- Select Active Mask from the Active Spot drop-down menu to show the mask for the area you are painting over.
- Right-click an area to delete, or tap the delete/Backspace key.
- Try Heal for things like blemishes on skin; try Clone for more intense patterns.
I hope you find this example of photo retouching with the Spot Healing tool helpful! Happy healing and enjoy Exposure X2!!
Try Exposure Today


