
Street scenes require a photographer to work fast or potentially lose the moment. Unlike a posed portrait, there are no re-dos. There is rarely time to fish the camera from the bag, remove the lens cap and fuss with your settings. Considering how unpredictable life can be, it’s best to prepare for anything. I start by dialing in all of my camera settings based on the existing light. The precise settings will vary depending on the existing light, but here are the main technical considerations that I keep in mind when shooting black and white street photography.
I put some informational nuggets about how I use Exposure for B&W’s in the image captions.
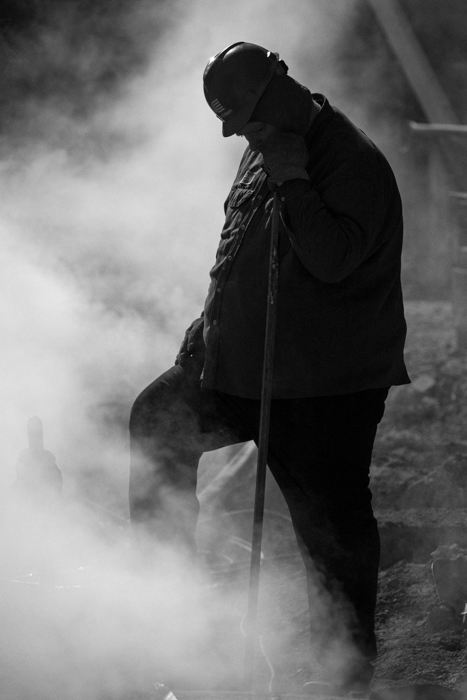
Processing: I prefer great contrast in my black and white images and Exposure 7 certainly has no shortage of options to choose from. Agfa Scala 200 provides my shots with inky blacks without muddying the highlights. Depending on the particular image, I will also used the “brighten highlights” preset or the “crush blacks” on the Tone Curve panel.
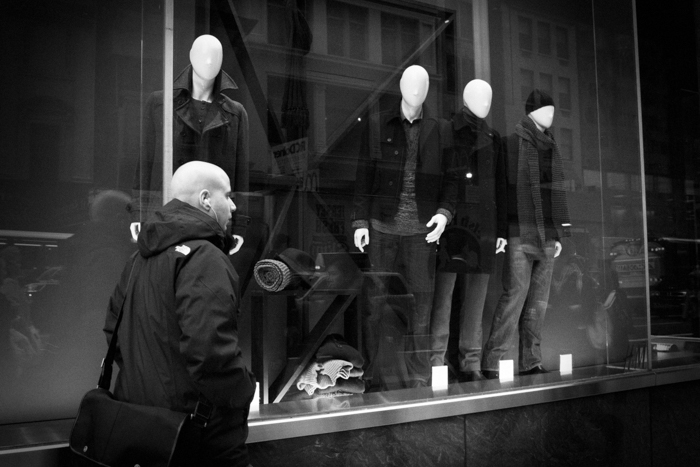
1) Shoot with a fairly small aperture so you have enough depth of field to keep your subject(s) in sharp focus. As the old war photojournalists would say, “f8 and be there”, meaning put yourself in the right place at the right time, set the camera to f8, and you have a good chance to succeed.
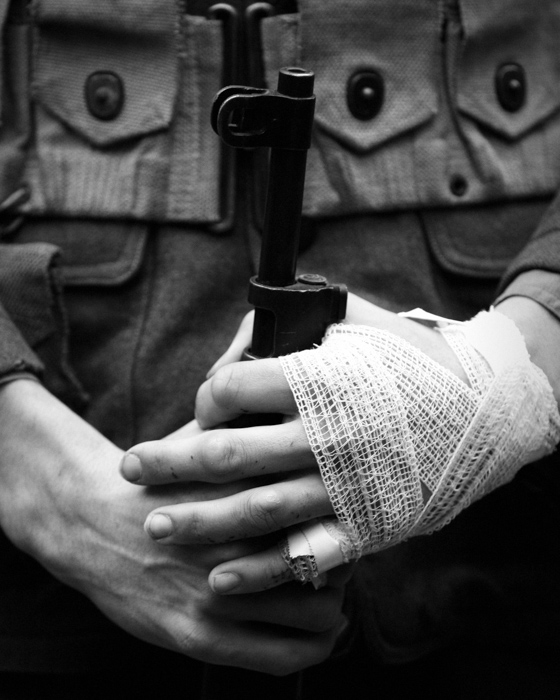
With black and white street photography images, I add 50% of “regular grain” and reduce it to taste, usually settling on about 30-35%. This always gives me joy. Most photography magazines and camera manufacturers promote “noise free images” as the gold standard. However in black and white street photography, a bit of grittiness is a welcome addition.
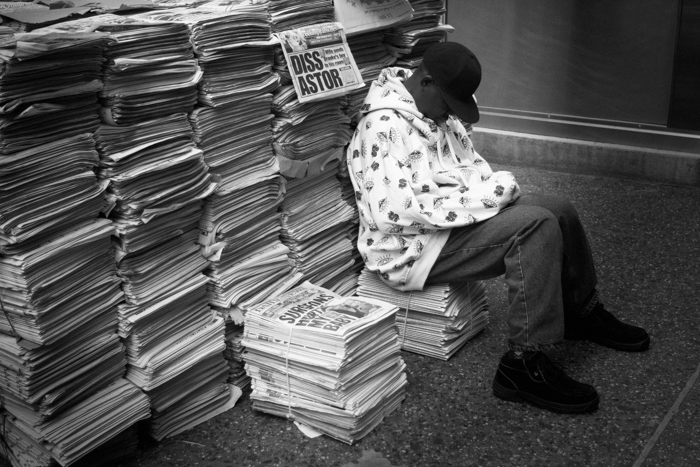
2) Select a shutter speed of at least 1/250 which is fast enough to freeze a person walking and also prevent any camera shake. If your subjects are moving very fast, you may even opt for 1/320 or 1/500.
As a final step, I apply a subtle black vignette in Exposure 7 to darken the corners and bring attention to the subject. For those images where a heavier vignette is desired, I prefer the “distortion large lumps” option. I appreciate how easy it is to move, shape and place the effect in a precise location.
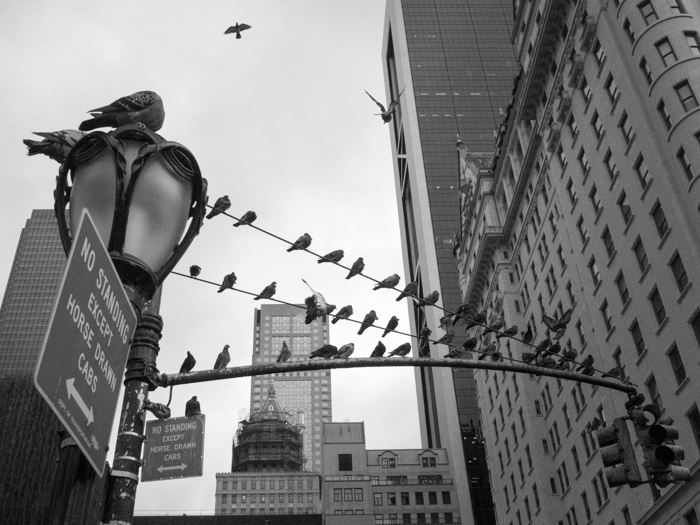
3) Since you’ll be using a small aperture and fast shutter speed, a high ISO will likely be required. Just how high should it be? Try 800 first and go to 1600 if the photo is still too dark. The ISO will make your camera more sensitive to the existing light, absorbing it faster and brightening up the scene.
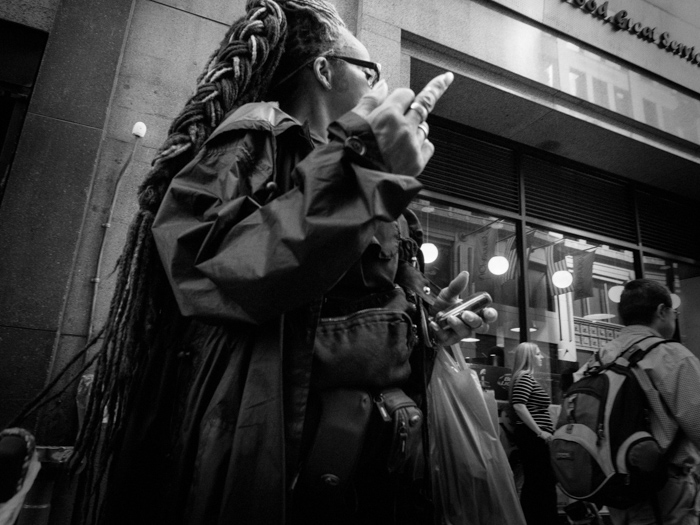
The instant you bring the camera up to your eye, everyone becomes self-aware and changes their behavior. To counter this, you can shoot from the hip, also known as the “spray and pray” technique. If you’ve never heard of it, let me explain how it works. I start by setting the camera to the high speed burst mode and choosing the single center autofocus point. I then set my exposure manually and use the lens at its widest focal length. A wide angle lens is an important consideration here, as it sees more, offering a better chance of capturing the subject.

Walking past my subject briskly, I hold the shutter button down to start the capture process. Technically I’m shooting blind as the camera is by my hip and I don’t know what it’s seeing. Since the center AF point is active, I try to aim the center of the camera towards the subject. During this high speed burst, I’ll capture anywhere from three to six photos. If aimed correctly, the autofocus will lock onto the subject in the center of the frame and achieve sharp focus. You may have captured something great, or an out of focus series of your feet. I’m aware this isn’t the most precise technique as the percentage for missed shots is high. However, it’s better than leaving the camera in your bag because you were afraid of the consequences.
It was Zack Arias who said “If you aren’t close to getting clobbered for a photograph then you aren’t trying hard enough.” At times like this it feels like I’m on the right track.
Is it Legal?
I’ll cut through all the misinformation and get right to the bottom line. In America, it is absolutely legal to photograph people in public spaces without their consent. This includes streets, public parks, and sidewalks. Model releases only become necessary for commercial use and instances where the image implies that the subject endorses a certain product or statement. For editorial and artistic use, releases are not required. Now that you know your rights, consider downloading a copy should someone approach and ask what you are doing. In countries across Europe, there can be variations to these laws, so it’s advisable to familiarize yourself with their specific customs.
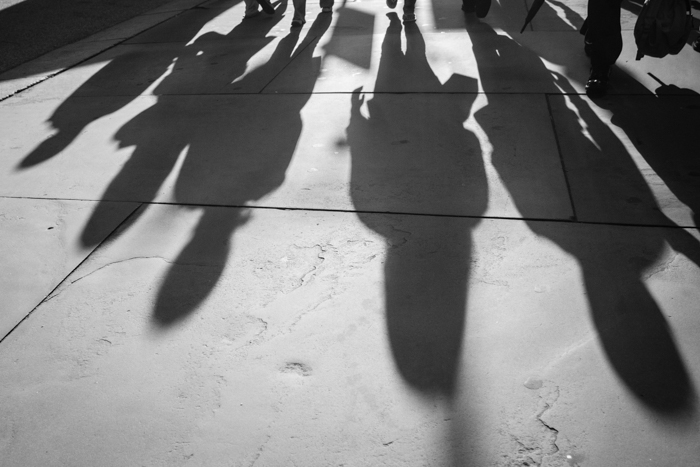
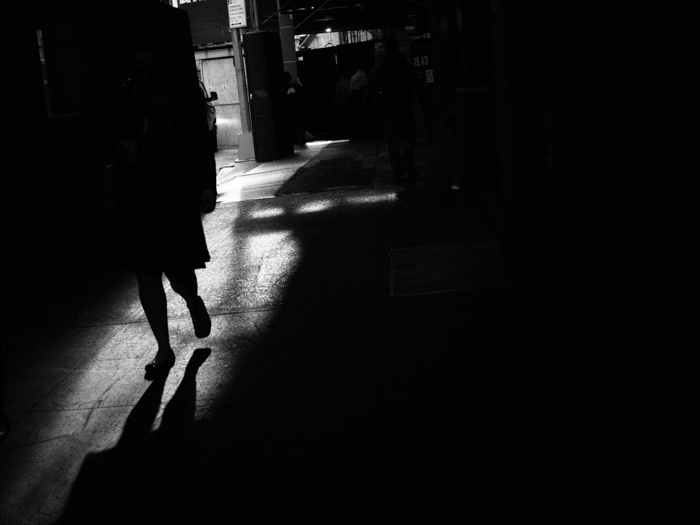
As is always the case in all good art, rules are meant to be broken. The same is true with black and white street photography. You have even more flexibility as shadows can be inky black, and highlights can clip the histogram while retaining their visual appeal. A subject with dark shadows and bright highlights would not be ideal for a color photograph. In fact, it’s one of the reasons techniques like HDR have become so popular. Yet, for black and white street photography, this type of high-contrast light can be extremely effective. The harsh mid-afternoon sun is no longer a detriment, but an enhancement.
Try Exposure Today


I was recently in NYC and had a very successful three days of street shooting. I actually did everything you mentioned in your blog and at times got some very well composed images, shooting blind. The only difference is that I shot one frame instead of bursting off several. I hope you can take the time to check out some of my images in Flickr. i really had a great time and had no problem, except for the fact that my partner walks about 80 mph and I had a hard time keeping up with him. But it trained to anticipate.
Thanks for the suggestions and the information on the legality of using my images for exhibition…