
So you have Exposure and here are tons of presets in it. Those presets are awesome, but you want more. You want to make them yours, to create your own custom preset.
Guess what? — You can do that! This article is going to illustrate how to create custom presets using some fantastic images from my recent trip to the Highlands of Scotland.
I use Exposure as a plugin with Lightroom, so I do all my sorting, flagging, rating, etc. Once I’ve narrowed the field to the cream of the crop, I selectively pull them into Exposure for a little love.
I’ve been using Exposure 7 for a year or so. There are a handful of presets that I use quite often, like Fuji Acros 100 and Ilford Delta 100. There are some rad colour presets too. I’ve gotten into the habit of favoriting ones I like. It’s really easy to just tap the star and the preset will show up on the Favorites tab with the same categories you’re used to seeing, just fewer filters (unless you have a lot of faves!).
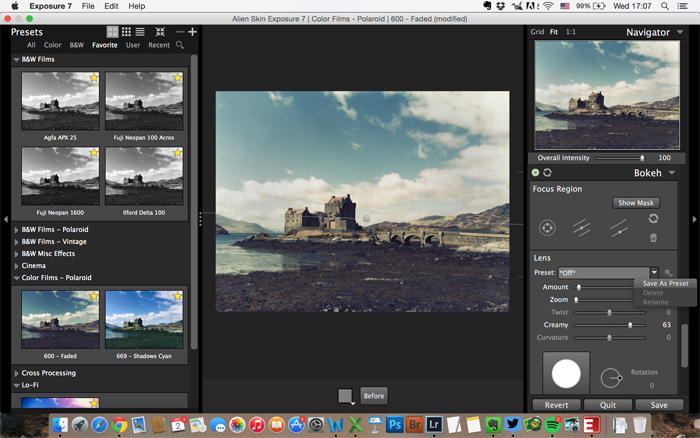
From here, I’ll take a quick peek at my Favorites to see if one of them works for the image I’ve selected. For this image of Eilean Donan Castle, I really liked the look of the Polaroid 600 – Faded filter. I wanted to create a little bit of a historical look and feel.
After selecting that preset, I knew I was on the right track. I like my images a little warmer, so on the Color Filter panel, I made a tweak to the Warming Filter. By default it’s at 50%, I normally take it down to around 20%. Next I made some slight tweaks to the tone curve, added the Fundy Finish 5 texture overlay, and finished the look with just a bit of Bokeh. Voila, my own custom preset!
Now, that’s a lot of work, so when you put that much time in, especially when you’ve favorited the filter to start with, there’s a shot you might want to use this look with down the road. I know I would, especially with the warming filter. The best thing to do is save your work as a custom preset.
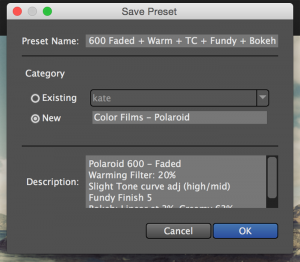
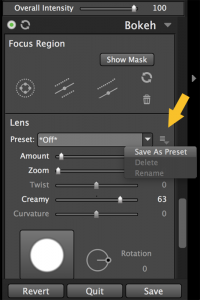
On the Preset panel, press the “+” sign, or use the key combination ⌘+S or Ctrl+S. The save preset dialog box will appear. Give the preset a name you’d like to use. Then select a folder for it to be assigned to, if you haven’t done this before you’ll want to create one. I use separate folders for specific looks, i.e., Black and White, Color, Lo-Fi, etc.
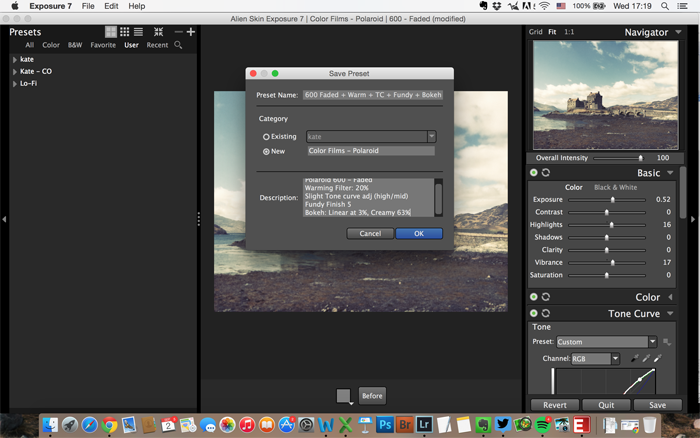
Next is the description field. Here I get fairly detailed for a couple of good reasons. I want to have as much information for this tutorial as possible and, in general, it’s good to have notes in case you need to re-edit an image, or if you need the granular steps. This is totally up to you!
Now that you’ve saved your custom preset, the next time you load Exposure 7, it will be there for you, or any others that you’ve created.
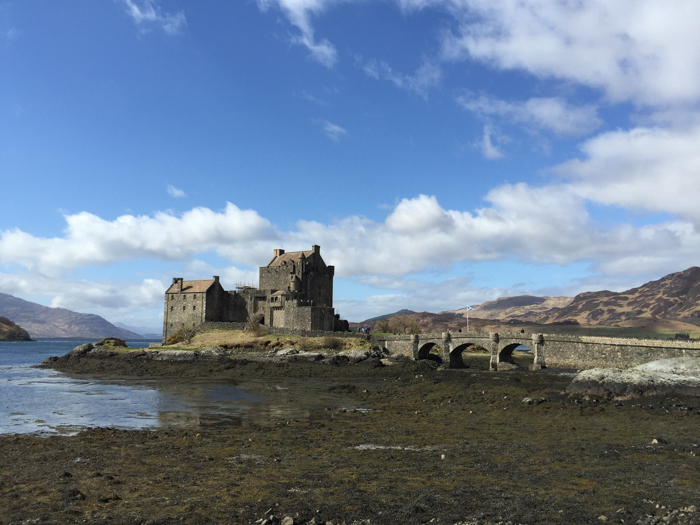
Before the edit:
Final edit:
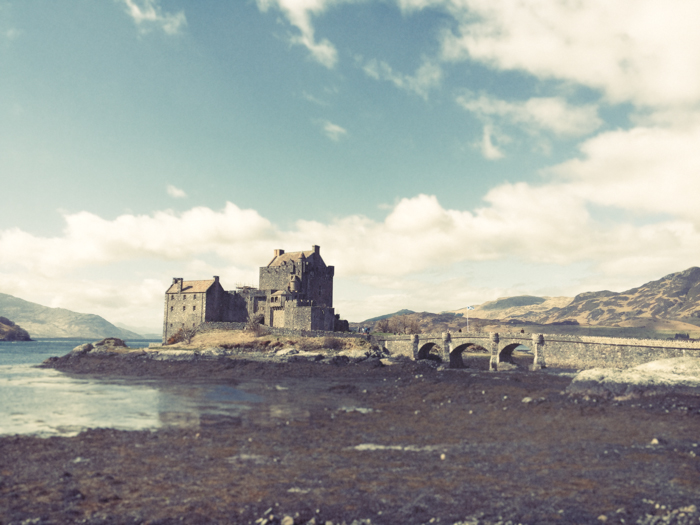
Camera: iPhone 6+ | Exposure 7: Polaroid 600 Faded + Warming Filter 20% + Fundy Finish 5 + Bokeh
Bonus:
Tap the icon to the right of the panel menu drop down and you can create a custom preset for that panel. In the image below, I made a custom preset on the Bokeh panel. B O O M — That’s awesome!
Here are a couple more images from my road trip through the Highlands of Scotland this past April. These two were shot with the Fuji XT-1 and edited solely in Exposure 7.
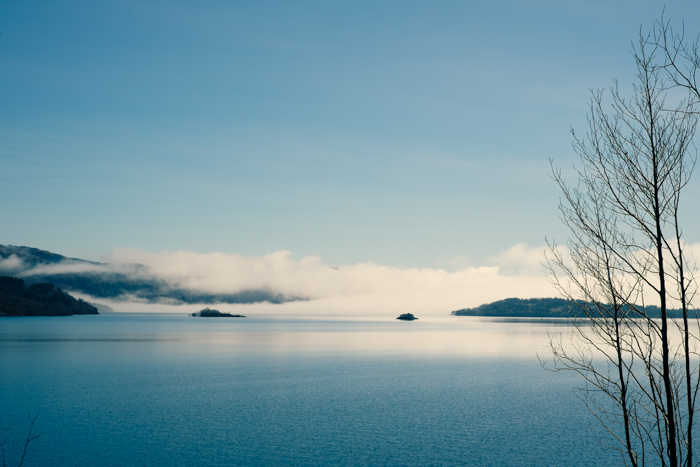
Loch Lomond and the Trossachs National Park | Polaroid 669 – Shadows Cyan + Warming Filter 30%
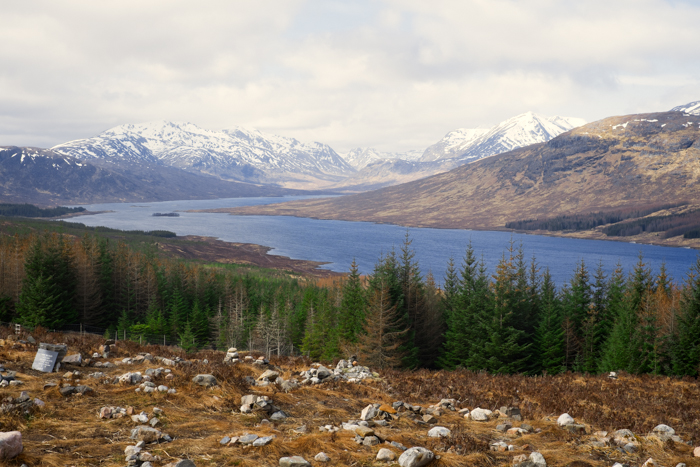
Loch Loyne, Invergarry, Scotland | Technicolor process 4 – Grain + Warming filter at 22%
Thanks!
~ kate
Try Exposure Today


